
Bringing new chickens home is exciting, but tossing them straight into your existing flock is a recipe for blood, stress, and sometimes worse. Learning how to introduce new chickens to an existing flock the right way keeps your birds safe, healthy, and stress-free through the whole process.
I have integrated dozens of birds into my flock over the years, and I have made just about every mistake possible. The biggest lesson I learned is that patience matters more than any single technique. Chickens are creatures of hierarchy, and rushing the process almost always backfires.
This guide walks through the entire integration process step by step, from quarantine to full flock acceptance. You will learn the proven methods, realistic timelines, warning signs to watch for, and exactly when to step in during conflicts.
Table of Contents
Why Chicken Integration Is Tricky: Pecking Order Explained
Chickens operate on a strict social hierarchy called the pecking order. Every bird in your flock knows its rank, and that rank determines who eats first, who roosts where, and who gets the best dust-bathing spots.
When you add new chickens, the entire hierarchy gets disrupted. The established flock does not see friendly new neighbors. They see intruders threatening the social structure they have built. This is why even normally docile hens will chase, peck, and intimidate newcomers.
Some pecking and chasing is completely normal and necessary. The flock has to re-establish order, and that involves some confrontation. The key is knowing the difference between establishing rank and dangerous bullying.
This is where the 90/10 rule for chickens comes in. The rule states that 90 percent of the pecking and chasing is harmless hierarchy-building that you should let play out. The other 10 percent is genuinely dangerous aggression that requires intervention. Drawing blood, pinning a bird down relentlessly, or preventing a new chicken from eating or drinking for extended periods all fall into that 10 percent.
How to Introduce New Chickens to an Existing Flock: Step-by-Step
Successful chicken integration follows a gradual, multi-phase process. Each phase builds on the last, letting the birds adjust at their own pace. Skipping steps or rushing the timeline is the number one reason integrations fail.
Step 1: Quarantine New Chickens for 30 Days
Before your new birds ever see your existing flock, they need a mandatory quarantine period of at least 30 days. This is non-negotiable for biosecurity.
New chickens can carry diseases, parasites, mites, and respiratory infections without showing any visible symptoms. A 30-day quarantine gives enough time for hidden illnesses to surface. Keep the new birds in a completely separate area, ideally at least 30 feet from your main coop, and always care for your existing flock first before handling the newcomers.
Watch the new birds closely during quarantine. Look for sneezing, coughing, lethargy, unusual droppings, feather loss, or anything abnormal. If any bird shows signs of illness, extend the quarantine and consult a poultry veterinarian before proceeding.
Step 2: Set Up Visual Separation for 1 to 2 Weeks
Once quarantine is complete, the next phase is visual separation. The new chickens and the existing flock need to see, hear, and smell each other without any physical contact.
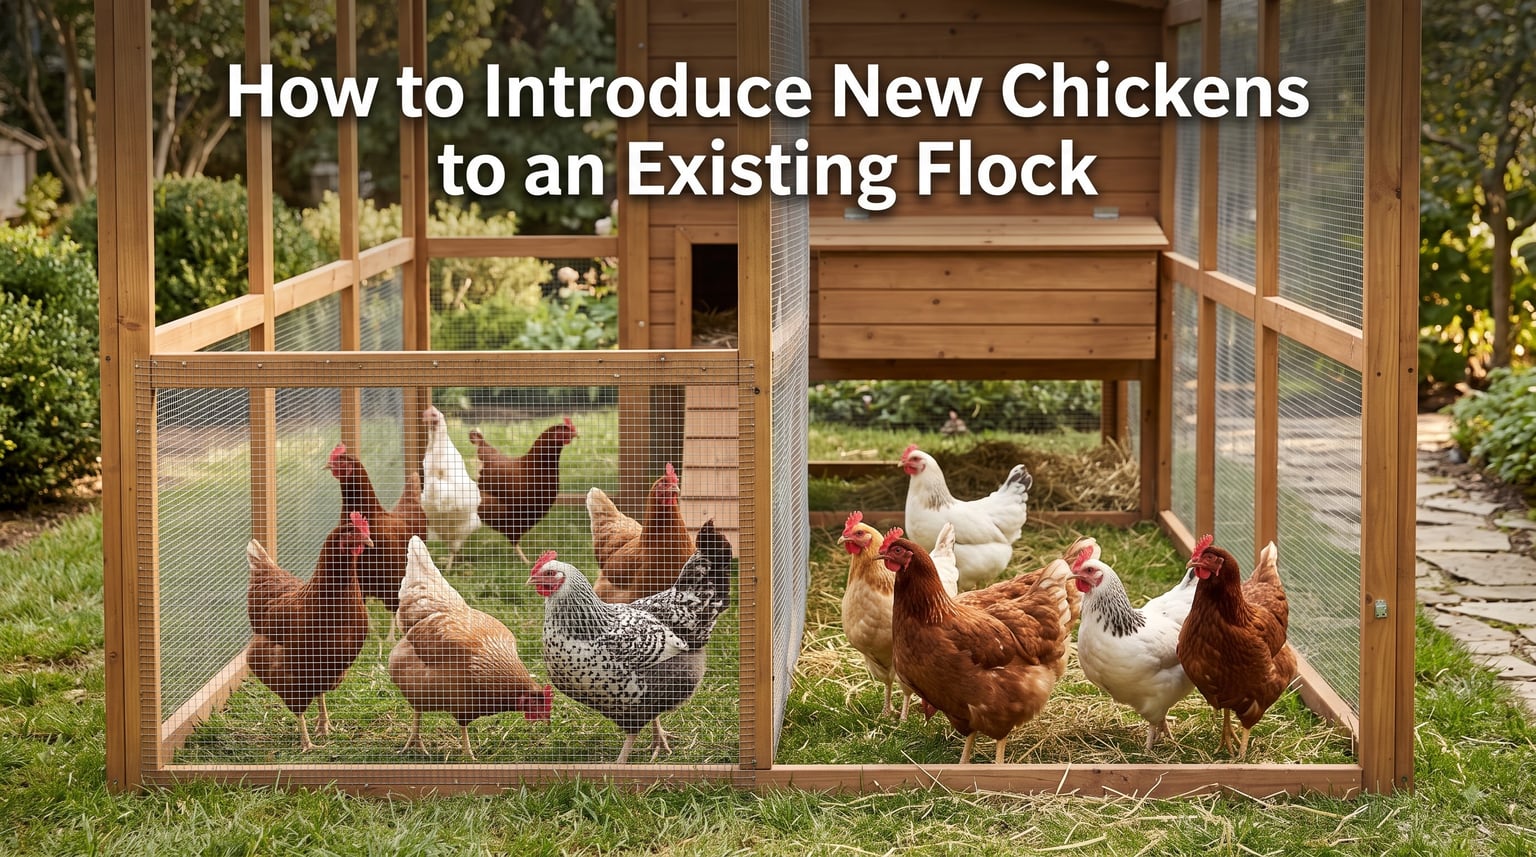
This phase typically lasts 1 to 2 weeks. Set up a partition inside or next to the main run using hardware cloth or chicken wire. The birds should be able to see each other clearly but not reach each other. This lets everyone get used to the presence of newcomers without the stress of actual confrontation.
You will notice the established flock spending time near the partition, checking out the new birds. This curiosity is a good sign. By the end of this phase, the novelty wears off and the birds start treating each other as familiar rather than threatening.
Step 3: Allow Supervised Physical Contact
After the visual separation phase, it is time for the first face-to-face meeting. Choose a time when you can supervise closely, ideally a free-range session in an open area where birds have plenty of room to escape.
Expect some chasing and pecking. This is the pecking order being established in real time. Stay calm and watch carefully. As long as no bird is being cornered, bloodied, or kept from food and water, let them work it out.
Keep these supervised sessions short at first, maybe 20 to 30 minutes. Gradually increase the duration over several days as tensions ease. Always separate the birds before nightfall and return the newcomers to their partition area.
Step 4: Use the Night-Time Introduction Method
The night-time introduction technique is one of the most popular ways to transition new birds into the main coop. The idea is simple: chickens are docile and disoriented in the dark, so moving them while they sleep reduces immediate confrontation.
Wait until your existing flock has settled on the roost for the night. Then quietly place the new chickens on the roost bars alongside the sleeping flock. When everyone wakes up at dawn, the newcomers smell like the coop and are already in the space, which can reduce the territorial response.
From my experience and the consensus on backyard chicken forums, this method works more often than not, but it is not foolproof. Some chickens absolutely remember who is new regardless of the sneaky nighttime placement. Always be present at first light to monitor.
Step 5: Monitor the First Morning Closely
The first morning after a night-time introduction is the most critical moment of the entire process. Be there before dawn, coffee in hand, ready to intervene.
Watch for excessive aggression. A few pecks and some chasing as the flock wakes up and realizes there are new birds is normal. But if a bird is being pinned down, cornered, or chased relentlessly without being able to eat, drink, or find a safe spot, you need to step in.
Have a backup plan ready. If things escalate, remove the new chickens and go back to the visual separation phase for a few more days before trying again.
Step 6: Achieve Full Flock Integration
Full integration means the new birds move freely with the flock, eat and drink without being chased away, and roost with the group at night without conflict. This typically takes 2 to 4 weeks total from the start of visual separation.
Keep multiple food and water stations available during this period. I recommend at least two of each, spaced apart, so dominant birds cannot guard all the resources at once. Add extra roosting space and a few hiding spots like boxes, pallets, or branches where a picked-on bird can escape.
Space matters more than people realize. Aim for at least 10 to 15 square feet per bird in the run and 4 square feet per bird inside the coop. Overcrowding is one of the leading causes of failed integrations and persistent bullying.
Chicken Integration Methods Compared
There are several recognized methods for integrating new flock members. Each works best in different situations, and experienced keepers often combine elements from multiple approaches.
The Playpen Method: Place new chickens inside a secure enclosure, like a dog crate or small pet playpen, within the main run. The flocks see each other constantly but cannot make physical contact. After about a week, you release the new birds during supervised sessions. This is widely considered the most reliable method, especially for first-timers.
The Jail Method: Similar to the playpen method but specifically uses a cage or small enclosure placed inside the coop itself. The new birds sleep and live in the cage within the coop, so they absorb the flock’s scent and presence 24 hours a day. Release happens after the flock shows indifference rather than aggression.
The Sneaky (Night-Time) Method: Place new birds on the roost after dark as described in Step 4. Fast and simple, but carries more risk. Works best when adding birds of similar size to a calm, established flock.
The Free Range Method: Introduce birds in a large open area where everyone has maximum room to escape. The wide space dilutes aggression because no one gets cornered. Works best for flocks that already free range regularly.
Signs of Successful Integration vs Failed Integration
Knowing how to read your flock’s behavior tells you whether the integration is working or heading south. Here is what to look for.
Signs of successful integration: The new birds eat and drink alongside the established flock without being chased away. They roost in the coop at night with the group. You see them foraging together and occasional mild pecking that does not escalate. The new chickens move confidently through the run rather than hiding in a corner.
Warning signs of trouble: New chickens stay pressed against walls or corners and refuse to move. They have visible wounds or blood from excessive pecking. They are blocked from food and water consistently. A single established hen relentlessly targets one newcomer without letting up.
When to intervene: Step in immediately if you see blood, if a bird is being pinned and cannot escape, or if new chickens cannot access food or water for more than a few hours. Remove the victim, treat any wounds, and restart the process from an earlier phase.
What to do if integration completely fails: Sometimes a particular bird simply will not accept a newcomer, even after weeks of trying. In rare cases, you may need to permanently separate that aggressive bird or rehome the new chicken. This is uncommon, but it happens, and recognizing it early saves both birds from chronic stress and injury.
Special Situations and Pro Tips
Adding just one chicken: Try to avoid introducing a single bird whenever possible. One newcomer has no allies and takes the full brunt of the flock’s aggression. Adding at least two birds at once spreads the attention and gives the new chickens a buddy to stick with during the transition.
Introducing to a flock with a rooster: A rooster changes the dynamic significantly. Some roosters welcome new hens readily, while others see them as threats. Introduce new hens slowly with visual separation first. Never introduce a new rooster to an existing rooster’s flock without extreme caution, as serious fighting is likely.
Molting season: Molting hens are often less aggressive because they are focused on regrowing feathers and conserving energy. This can make molting season a surprisingly good time for integration. Just be gentle, since molting birds are physically uncomfortable.
Bantam chickens: Bantams and smaller breeds often get picked on by larger standard breeds. If mixing sizes, give the smaller birds plenty of escape routes and hiding spots, and monitor more closely.
Seasonal timing: Spring and early summer are ideal for integration since birds spend more time outdoors with more space. Avoid integrating during extreme cold when birds are cooped up and tempers run short.
Frequently Asked Questions
How long does it take for hens to accept new hens?
Most flocks accept new hens within 2 to 4 weeks when using a gradual integration process. The visual separation phase typically lasts 1 to 2 weeks, followed by another 1 to 2 weeks of supervised contact before full acceptance. Some flocks settle faster, while more aggressive or established flocks may take longer.
What is the 90/10 rule for chickens?
The 90/10 rule states that 90 percent of pecking and chasing during integration is harmless hierarchy-building that you should allow to happen naturally. The remaining 10 percent is dangerous aggression that requires intervention. If you see blood, relentless pinning, or a bird being blocked from food and water, that falls in the 10 percent and you should step in.
Can you introduce just one chicken to a flock?
You can, but it is not recommended. A single newcomer has no allies and absorbs the full force of the flock’s territorial aggression. Whenever possible, add at least two birds at a time so they can support each other during the transition. If you must add one bird, use the playpen method and take the process extra slowly.
How long to quarantine new chickens before adding to a flock?
Quarantine new chickens for a minimum of 30 days before any contact with your existing flock. Keep them in a separate enclosure at least 30 feet away, and always care for your existing flock first to avoid cross-contamination. Watch for signs of illness, parasites, or respiratory issues during this period.
Is it hard to introduce new chickens to a flock?
It is not difficult if you follow a gradual process with patience. The key steps are 30 days of quarantine, 1 to 2 weeks of visual separation, supervised physical contact, and close monitoring. Most problems come from rushing the timeline or skipping the separation phases entirely.
Conclusion
Learning how to introduce new chickens to an existing flock comes down to patience, gradual exposure, and close observation. Quarantine for 30 days, provide a visual separation period of 1 to 2 weeks, use supervised contact sessions, and monitor the first mornings closely.
Remember the 90/10 rule: let most of the pecking play out, but step in immediately when things turn dangerous. With multiple food and water stations, adequate space, and a willingness to slow down when needed, your new birds will be part of the family before you know it.