
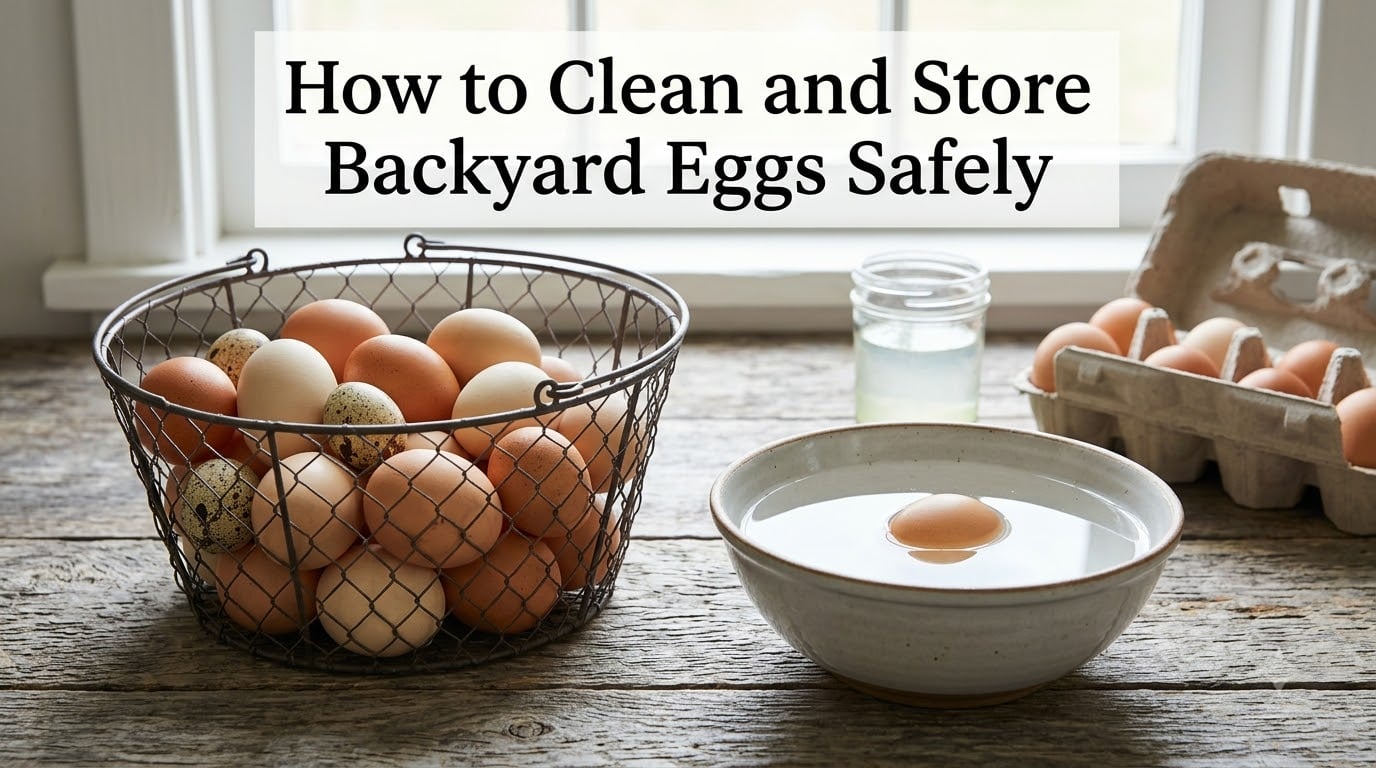
When I first started raising chickens, I made every mistake in the book with my eggs. I washed them all immediately, stored them in the fridge door, and wondered why some went bad within a week. After talking to experienced keepers and digging into food safety guidelines, I learned that learning how to clean and store backyard eggs safely comes down to one simple concept: protecting the bloom.
This guide walks you through everything I wish I had known from day one. You will learn when to wash eggs (and when to leave them alone), how to store them for maximum freshness, how to test whether they are still good, and how to prevent dirty eggs from happening in the first place.
Whether you have three hens in a suburban coop or a full flock on acreage, these methods will keep your eggs fresh, safe, and delicious for weeks longer than you might expect.
Table of Contents
Understanding the Bloom: Why It Changes Everything?
The bloom, also called the cuticle, is a thin, invisible coating that a hen’s body applies to each egg right before it is laid. This natural protective layer seals the thousands of microscopic pores in the shell, creating a barrier that keeps bacteria out and moisture in.
Think of the bloom as nature’s shrink wrap. An unwashed egg with an intact bloom can sit on your kitchen counter for two to three weeks without spoiling. The moment you wash that egg, you strip the bloom away and open those pores to air, bacteria, and moisture loss.
This is why commercial eggs in the United States are washed and sanitized before reaching grocery stores, then refrigerated the entire time. In contrast, many European countries do not wash commercial eggs at all, precisely to preserve the bloom. Backyard eggs give you the choice: keep the bloom intact and store at room temperature, or wash and refrigerate.
One important detail: eggshells are porous even with the bloom. The bloom reduces what passes through, but it does not make the shell impermeable. This is why temperature matters so much. When a cold egg from the fridge sits on a warm counter, condensation forms on the shell, and that moisture can pull bacteria through the pores. Once an egg has been refrigerated, it should stay refrigerated.
How to Clean and Store Backyard Eggs Safely: The Core Rules
Everything about how to clean and store backyard eggs safely comes down to two paths. If an egg looks clean, do nothing and store it on the counter. If an egg has visible dirt, manure, or bedding stuck to it, you have a choice: dry clean it and keep it on the counter, or wet wash it and move it to the refrigerator.
The single most important rule is consistency. Decide your approach and stick with it for each egg. Never wash an egg and then leave it at room temperature, because the bloom is gone and bacteria can enter through the exposed pores.
Dry Cleaning: The Gentle Approach for Lightly Soiled Eggs
Dry cleaning is the best method for eggs with small spots of dirt, shavings, or feather bits stuck to the shell. It removes debris without water, so the bloom stays intact and the egg remains safe for counter storage.
Here is the step-by-step process I use for dry cleaning eggs:
Step 1: Let the egg reach room temperature if it has been outside in cold weather. Cleaning a cold egg can cause the shell to contract slightly, pulling debris and bacteria inward.
Step 2: Use a dry, abrasive tool to gently buff away the debris. A fine-grit sandpaper block (about 320 grit) works well. Some keepers prefer a stiff nylon brush or even a dedicated egg-cleaning brush.
Step 3: Brush in a gentle circular motion over the soiled spot. Do not press hard. The goal is to remove the surface debris without scratching the shell deeply.
Step 4: If the debris will not budge with dry cleaning alone, that egg needs wet washing instead. Move on to the washing method and plan to refrigerate it.
I keep a small sandpaper block and a soft brush right next to my egg collection basket. Dry cleaning takes about ten seconds per egg and has become second nature after morning collection.
Wet Washing: The Safe Method for Dirty Eggs
Some eggs are simply too dirty for dry cleaning. If you see caked manure, cracked yolk residue, or anything that looks like it could carry bacteria, wet washing is the right call. The key is doing it correctly, because washing an egg the wrong way is worse than not washing it at all.
The golden rule of wet washing: always use water that is warmer than the egg. Warm water causes the egg’s contents to expand slightly, pushing outward against the shell. This prevents contaminated wash water from seeping inward through the pores. Cold water does the opposite. It causes the contents to contract, creating a vacuum that pulls bacteria-laden water right through the shell.
Here is the safe washing method step by step:
Step 1: Run water between 90 and 120 degrees Fahrenheit. It should feel warm but not scalding to your hands. If you do not have a thermometer, the water should be noticeably warmer than the egg.
Step 2: Hold the egg under the running water or dip it into a bowl of warm water. Do not soak it. Let the water loosen the debris for a few seconds.
Step 3: Gently wipe the shell with your fingers, a soft cloth, or a dedicated vegetable brush. Never use harsh scrubbing pads or abrasive sponges that can damage the shell surface.
Step 4: For heavily soiled eggs, use a sanitizing solution. Mix 1 tablespoon of unscented household bleach with 1 gallon of warm water. Dip the egg briefly, then rinse with clean warm water.
Step 5: Dry the egg completely with a clean paper towel or cloth. Never store a wet egg. Moisture on the shell encourages bacterial growth and speeds up quality loss.
Step 6: Place the washed and dried egg in the refrigerator immediately. Aim for a temperature between 35 and 40 degrees Fahrenheit.
Some keepers swear by natural alternatives like a splash of vinegar in warm water instead of bleach. Vinegar does have mild antimicrobial properties, but it is not as consistently effective as a properly diluted bleach solution. If you prefer vinegar, use about 1 tablespoon of white vinegar per cup of warm water.
One more thing: never put eggs in the dishwasher. The combination of high heat and detergent can damage the shell and force water through the pores. I learned this the hard way with a batch of eggs that all tasted faintly of soap.
Counter Storage: Keeping Unwashed Eggs at Room Temperature
Unwashed eggs with the bloom intact can be stored safely on your counter at room temperature. This is the method most backyard chicken keepers prefer, and it is how eggs have been stored for centuries around the world.
The ideal temperature range for counter storage is between 55 and 70 degrees Fahrenheit. Avoid placing eggs near windows, stoves, or direct sunlight. A cool, dry spot on your counter or in a pantry works perfectly.
Unwashed eggs stored at room temperature typically last two to three weeks while maintaining excellent quality. Many keepers report eggs still being fresh after a month on the counter, though quality does gradually decline.
Store eggs with the pointy end facing down. The broad end of the egg contains the air sac, and positioning it upward keeps the air sac at the top where it belongs. This prevents the air sac from shifting and disturbing the yolk, which helps the egg stay fresh longer. The yolk stays centered, and the egg white remains more cohesive when you crack it.
Use a dedicated egg carton, wire egg basket, or egg skelter for counter storage. An egg skelter is a sloped wire rack that lets you load new eggs at the top and take the oldest from the bottom, creating a natural rotation system. I started using one two years ago and have not had to think about egg rotation since.
One critical warning: never store eggs near onions, garlic, or strong-smelling foods. Because eggshells are porous, eggs will absorb odors from their surroundings. An egg stored next to a bowl of onions will taste like onions when you cook it.
Refrigerator Storage: Best Practices for Washed Eggs
Once you wash an egg, the bloom is gone and refrigeration becomes necessary. Cold storage slows bacterial growth and extends shelf life significantly. Washed and refrigerated eggs can last three to five months, though they are best within two months for peak quality.
Keep your refrigerator at or below 40 degrees Fahrenheit. A dedicated refrigerator thermometer is worth the few dollars it costs, because the built-in temperature display on many fridges is not always accurate.
Store eggs in the main body of the refrigerator, not in the door. The door is the warmest part of the fridge and experiences the most temperature fluctuations every time you open it. Those constant swings from cold to warm and back are hard on eggs and reduce their shelf life.
Use the original carton or a dedicated egg container. Cartons protect eggs from absorbing odors from other foods and prevent moisture loss. They also make it easy to label dates and track which eggs are oldest.
Here is an important point that trips up many new chicken keepers: once an egg has been refrigerated, it must stay refrigerated. Do not move a cold egg to room temperature storage. As the egg warms up, condensation forms on the shell. That moisture can carry bacteria through the now-unprotected pores. If you pull eggs from the fridge for cooking, use them right away rather than letting them sit out.
If you refrigerate unwashed eggs (which many keepers do to extend shelf life beyond the two-to-three week counter window), the same rule applies. Once cold, keep them cold until you are ready to use them.
The Float Test: How to Check Egg Freshness
The float test is a simple, reliable way to check whether an egg is still fresh. It works because the air sac inside an egg grows larger over time as moisture evaporates through the shell. A larger air sac means the egg is more buoyant.
Here is how to do the float test correctly:
Step 1: Fill a bowl or glass with cold water. The container should be deep enough to completely submerge an egg.
Step 2: Gently place the egg into the water. Do not drop it, because a floating egg is often a sign that the shell is compromised.
Step 3: Read the result:
If the egg sinks to the bottom and lies flat on its side, it is very fresh. Use it for anything, including poaching or frying where presentation matters.
If the egg sinks but stands upright on one end with the broad end down, it is still good but aging. Use it for baking, scrambling, or hard boiling. These eggs actually peel more easily after boiling than very fresh ones.
If the egg floats to the top, it has gone bad. Throw it away or compost it. Do not crack it open to check, because the smell will be immediate and memorable.
The float test is an indicator of age, not safety. A floating egg is definitely old, but a sinking egg could still have internal quality issues. Always follow up with a visual and smell check after cracking.
Prevention First: How to Keep Eggs Clean in the Nesting Box
The easiest way to deal with dirty eggs is to prevent them in the first place. Most dirty eggs come from preventable causes in the coop. Over the years, I have cut my dirty egg rate from about one in three to fewer than one in twenty with a few simple changes.
Collect eggs daily. The longer an egg sits in a nesting box, the more likely another hen will step on it, roost over it, or accidentally break it. I collect eggs twice a day during peak laying season, once in the morning and once in the evening. This alone eliminates most dirt issues.
Provide one nesting box per four hens. Hens compete for boxes when there are not enough, which leads to crowding, broken eggs, and manure buildup. One box per three to four hens gives everyone room without creating empty boxes that hens start roosting in.
Keep nesting boxes filled with clean bedding. Pine shavings, straw, or hay all work. I prefer pine shavings because they are absorbent and easy to spot-clean. Add fresh bedding weekly and do a full clean-out monthly. Remove any wet or soiled bedding immediately.
Position roosts higher than nesting boxes. Chickens prefer to roost on the highest available spot. If your roosts are lower than the nesting boxes, hens will sleep in the boxes, leaving manure everywhere. Keep roosting bars at least eighteen inches above the nesting box openings.
Address breakage immediately. A broken egg in a nesting box creates a mess that contaminates every egg that follows. Hens may also develop egg-eating habits after tasting a broken egg. Remove broken eggs right away and replace the soiled bedding.
Check for egg eaters early. If you keep finding wet spots or shell fragments in nesting boxes but no intact eggs, a hen may be eating them. This habit is hard to break once established. Collecting eggs frequently and providing adequate calcium through oyster shell supplements helps prevent it.
Long-Term Preservation: Water Glassing and Freezing
If your hens produce more eggs than you can eat, long-term preservation methods let you stockpile eggs for winter when production drops. The two most practical methods for home keepers are water glassing and freezing.
Water glassing uses a food-grade lime solution to seal eggs for room-temperature storage lasting up to a year or longer. This method only works with perfectly clean, unwashed eggs. Here is the basic process:
Dissolve 1 ounce of food-grade hydrated lime (calcium hydroxide, available online or at farm supply stores) in 1 quart of cool water. Use filtered or distilled water, not tap water, to avoid mineral interactions. Place clean, unwashed eggs in a glass or ceramic container and pour the lime solution over them until they are completely submerged. Cover the container and store it in a cool, dark place like a basement or root cellar.
Water-glassed eggs should be rinsed thoroughly before use. The yolks may be slightly softer than fresh eggs, so they work best in baking and cooking rather than frying. This method fell out of favor when refrigeration became common, but it has seen a resurgence among modern homesteaders.
Freezing eggs is simpler and works well if you have freezer space. Crack eggs into a bowl, whisk gently to combine whites and yolks, and pour into ice cube trays or silicone muffin molds. One standard ice cube holds approximately one egg’s worth of mixture. Freeze until solid, then transfer to a freezer bag and label with the date.
Frozen eggs keep for up to six months. Thaw them overnight in the refrigerator before use. They are best for scrambled eggs, baking, and cooking rather than dishes where texture matters, because freezing slightly changes the consistency of the egg white.
Signs Your Backyard Eggs Are No Longer Safe to Eat
Even with proper storage, eggs eventually pass their prime. Here are the signs that tell you an egg should be discarded rather than eaten.
The float test says it floats. A floating egg has a large enough air sac to indicate significant age and likely spoilage. Trust this test and toss it.
The egg smells bad after cracking. A spoiled egg has a distinct sulfur smell that hits you immediately. If the smell is off in any way, do not taste it. Throw the egg away and move on.
The egg white or yolk looks discolored. A healthy egg white should be clear or slightly cloudy. A pink, green, or iridescent egg white signals bacterial contamination. Yolks should be yellow or orange, never gray or greenish.
The shell is cracked. Cracks allow bacteria to enter the egg even with the bloom intact. If you find a cracked egg during collection, use it immediately if the membrane is intact, or discard it.
The egg has been stored at inconsistent temperatures. Eggs that have gone through multiple temperature swings, like being moved from fridge to counter and back, have a higher risk of contamination regardless of how old they are.
When in doubt, throw it out. A single backyard egg is worth far less than a case of food poisoning. Developing confidence about egg freshness comes with experience, and the float test plus your own senses of smell and sight will rarely steer you wrong.
Frequently Asked Questions
How do you store fresh yard eggs?
Store fresh yard eggs unwashed on the counter at room temperature (55 to 70 degrees Fahrenheit) for up to two to three weeks. Keep them pointy end down in a carton or egg skelter away from direct sunlight and strong odors. If you wash them, move them to the refrigerator at or below 40 degrees Fahrenheit.
Can you wash farm fresh eggs and leave them on the counter?
No. Washing removes the protective bloom that seals the shell pores. Once washed, an egg must be refrigerated at 40 degrees Fahrenheit or below. Leaving a washed egg at room temperature allows bacteria to enter through the exposed pores and can lead to spoilage within days.
How do I know if my backyard chicken eggs are safe to eat?
Use the float test by placing the egg in a bowl of cold water. If it sinks and lies flat, it is very fresh. If it sinks but stands on one end, it is older but still good. If it floats, discard it. After cracking, check for any off smells, discolored whites, or unusual appearance. Trust your senses.
How to disinfect and sanitize backyard chicken eggs?
Wash dirty eggs under warm water (90 to 120 degrees Fahrenheit) that is warmer than the egg. For sanitizing, use a solution of 1 tablespoon of unscented household bleach mixed into 1 gallon of warm water. Dip the egg briefly, rinse with clean warm water, dry thoroughly with a paper towel, and refrigerate immediately.
Wrapping Up: Your Backyard Egg Routine
Learning how to clean and store backyard eggs safely is really about making one decision per egg: keep the bloom or wash it away. Clean eggs go straight to the counter. Dirty eggs get washed and move to the fridge. It really is that simple once you understand the reasoning.
Start with prevention by keeping your nesting boxes clean and collecting eggs daily. Master the float test for checking freshness. Use warm water that is warmer than the egg if you need to wash. Store pointy end down. And when in doubt, trust your nose and the float test over any date on a carton.
Your hens are doing the hard work of producing these incredible eggs. With these methods, you will get the most out of every single one.