
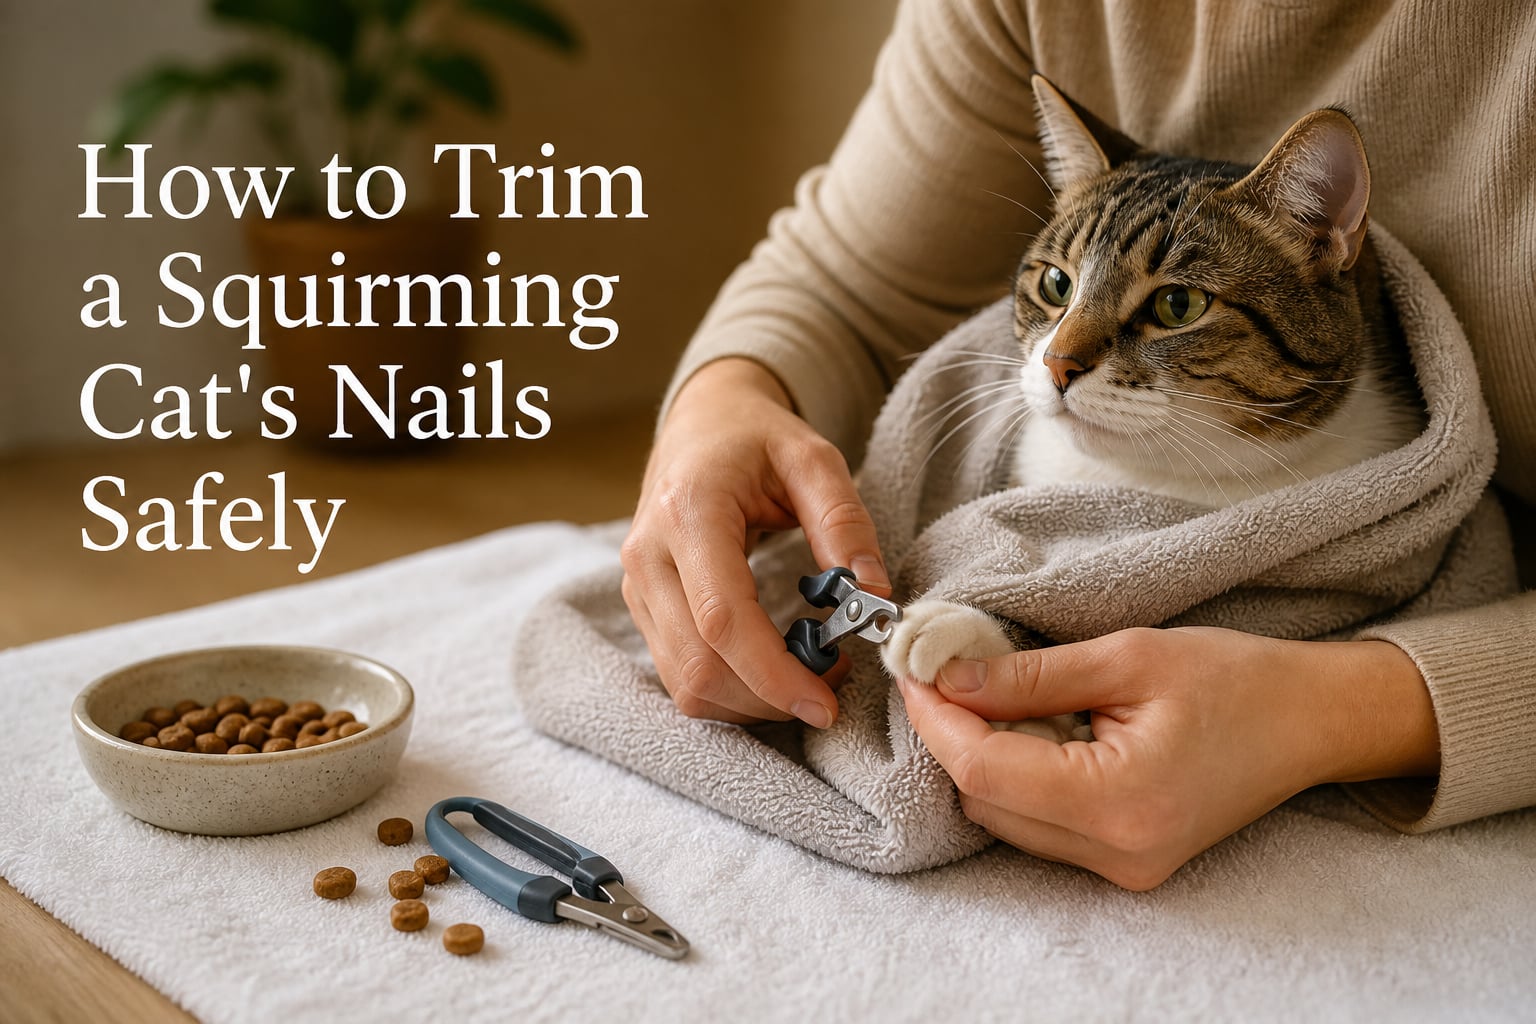
I still remember the first time I tried to trim my cat Luna’s nails. Within seconds she’d twisted free, left three scratches down my forearm, and wedged herself behind the fridge for the next two hours. If you’ve ever tried to figure out how to trim a squirming cat’s nails safely, you already know the feeling.
The good news: it gets dramatically easier with the right approach. After working through every bad habit with my own cats and talking with vets, groomers, and hundreds of owners on cat forums, I’ve put together a complete, step-by-step system for trimming even the most resistant cat’s claws without stress, blood, or a trip to urgent care.
Here’s everything you need: the anatomy you must understand first, the right tools, a calm-down routine, the actual trim steps, the kitty burrito method, and a training plan for cats who have never accepted paw handling. Let’s start with why this even matters.
Table of Contents
Why Trimming a Squirming Cat’s Nails Matters?
Indoor cats don’t wear their claws down the way outdoor cats do. Without rough surfaces to scratch on all day, those claws keep growing. Left untrimmed, they curve inward and can puncture the paw pad. I’ve seen this happen to a friend’s cat, and it required a vet visit and antibiotics.
Regular trimming also protects your furniture, your skin, and other pets. A cat with sharp hooks at the end of every toe can shred a sofa in a weekend and accidentally slice you during play.
Most indoor cats need a trim every 2 to 4 weeks. Active, younger cats may stretch it to 4 weeks. Senior cats and cats with arthritis often need trims every 2 weeks because they scratch less and the claws thicken faster. Once you notice the claws catching on fabric or clicking on hard floors, it’s time.
Understanding Cat Claw Anatomy Before You Cut
Before you touch a clipper, you need to know what’s inside the claw. Cats have retractable claws, which means the claw rests tucked up inside the toe most of the time. To see it, you gently press the top of the paw and the pad below the toe at the same time. The claw extends out like a tiny hook.
Each claw has a pink or reddish area near the base called the quick. The quick contains a blood vessel and a nerve. Cut into it and the claw bleeds and hurts. You only ever trim the white, curved tip past the quick.
For cats with clear or white claws, the quick is easy to spot. For cats with black claws, you’ll need to look at the claw from the side and trim only the very tip, where the nail narrows and hooks. If in doubt, take off less.
Every cat also has a dewclaw on the inside of each front paw, higher up like a thumb. It never touches the ground and never gets worn down, so it curls the fastest. Always check the dewclaws, because they’re the ones that most often grow into the pad.
Tools You Need to Trim a Cat’s Nails Safely
You don’t need much, but using the right tool makes everything easier. Here’s what to have on hand:
Cat nail clippers. There are three main types. Scissor-style clippers have two curved blades and give you the most control for squirmy cats. Pliers-style clippers (sometimes called Miller’s Forge) have a spring and are great for thicker senior claws. Guillotine-style clippers have a hole you slide the claw through; some owners love them, but I find them harder to position quickly on a wriggling cat. Skip human nail clippers, which crush and split the claw rather than cutting cleanly.
Styptic powder. Keep this within arm’s reach in case you nick the quick. Cornstarch or flour works in a pinch, but styptic powder stops bleeding faster.
High-value treats. Use something your cat goes crazy for. Churu, freeze-dried chicken, or small bits of plain tuna work well.
A large bath towel. This is for the kitty burrito method, which I’ll cover in detail below.
An emery board or cat nail file. Optional, but useful for smoothing sharp edges after the trim.
How to Trim a Squirming Cat’s Nails: Step-by-Step
This is the core process. Once you understand these steps, the only thing standing between you and a successful trim is patience and timing.
Step 1: Pick the right moment. Wait until your cat is sleepy, often after a meal or a play session. A tired cat is a cooperative cat. Don’t attempt this when your cat is zooming around the house.
Step 2: Position your cat comfortably. Sit on the floor or in a chair with your cat in your lap on a soft towel. Some cats do better on a table at counter height with a non-slip mat underneath. Try both and see what your cat tolerates.
Step 3: Extend the claw. Hold the paw gently between your thumb and finger. Press the top of the toe and the pad below it at the same time. The claw slides out. If your cat pulls away, let go, give a treat, and try again in a minute.
Step 4: Locate the quick. For clear claws, you’ll see the pink area. For dark claws, only clip the curved white tip. Plan to take off about 2 millimeters past where the pink ends.
Step 5: Cut quickly and smoothly. Position the clipper perpendicular to the claw, never side-on. Squeeze in one firm, quick motion. A slow cut crushes the nail and hurts.
Step 6: Reward immediately. Give a treat after each nail or every two nails, whichever keeps your cat calmer. The goal is for your cat to associate the clipper with snacks.
Step 7: Stop before your cat loses patience. If you get three nails done and your cat starts thrashing, stop. You can do the rest tomorrow. A short successful session is worth ten long stressful ones.
If you cut the quick: don’t panic. Stay calm, press a small pinch of styptic powder against the tip of the claw, and hold gentle pressure for 10 to 15 seconds. The bleeding stops fast. Comfort your cat and end the session, because once you’ve drawn blood you’ve used up all your goodwill for the day.
Calming Techniques for a Squirmy Cat
None of the competitors I reviewed talk about pre-trim calming, and that’s a missed opportunity. A relaxed cat barely squirms at all. Here’s how to set the stage:
Wear your cat out first. Ten to fifteen minutes of active play with a wand toy mimics a hunt. After the catch, most cats settle into a grooming and resting phase. That’s your window.
Use pheromones. A Feliway spray on the towel you’ll use, applied 15 minutes before, can take the edge off for anxious cats. I keep a bottle specifically for nail days.
Warm the room. Cats relax more when they’re warm. A room around 72 to 75 degrees Fahrenheit helps. A lap blanket fresh out of the dryer for 30 seconds works wonders.
Offer a lick mat. Spread a thin layer of squeeze treat or wet food on a silicone lick mat and stick it to the floor or a wall. Many cats will stand still licking for several minutes while you work. This single trick transformed trimming for my most stubborn cat.
Keep sessions short. Even a calm cat has a limit. Aim for under 5 minutes per session. Multiple short sessions beat one long battle every time.
The Kitty Burrito Method for a Wiggly Cat
When your cat simply won’t hold still, the kitty burrito is your best tool. It’s a towel wrap that gently contains the cat while exposing one paw at a time. Rescuers and vets use it daily.
Step 1: Lay a large bath towel flat. Place your cat in the center, facing away from you.
Step 2: Wrap one side snugly across the cat’s body, tucking it under the chest. Then wrap the other side over the top, so the cat is enclosed like a burrito with only the head and one front paw sticking out.
Step 3: Pull one front leg forward gently. You’ll be able to access each toe without the cat being able to twist away.
Step 4: Trim the front claws. Re-wrap to expose the other front paw. For the back claws, loosen the wrap and gently tip the cat slightly onto their side.
Never wrap so tightly that the cat can’t breathe comfortably. The wrap should be snug enough to limit movement, not crush. If your cat panics inside the wrap, stop immediately. Burritos work for some cats and terrify others.
For especially difficult cats, two people make a huge difference. One person holds and comforts while the other focuses entirely on the trim. Hold the cat against your body, support the back legs, and talk calmly throughout.
How to Train Your Cat to Accept Nail Trims?
This is the section I wish every guide included. If your cat has never been handled or had a bad experience at the vet, you can’t just grab the clippers and expect cooperation. You need a slow, rewarded conditioning plan. Here’s a three-week progression that works for most cats.
Week 1: Paw handling only. Twice a day during normal petting, gently touch each front paw for a few seconds. Press lightly on a toe to extend a claw, then release. Give a treat after. No clippers yet. The goal is for your cat to associate paw touches with rewards.
Week 2: Introduce the clipper. Hold the clippers near your cat during treat time without using them. Touch each claw gently with the closed clipper. Reward. Once your cat doesn’t flinch, you can do a single “mock cut” where you position the clipper and click it empty near the claw. Treat heavily.
Week 3: Trim one nail per session. Take the very tip off one claw, then immediately give a high-value treat and end the session. Next day, do one or two nails. Build slowly. Many cats will be up to a full paw within two weeks of starting actual trims.
For rescue cats or cats with a history of rough handling, expect this to take longer. Some cats need a month or more at each stage. Patience wins. I worked with a foster cat for six weeks before he’d let me trim even one nail, but by month three he purred through full paw sessions.
When to Call a Professional Groomer or Vet
Sometimes home trimming isn’t the right call, and recognizing that is part of caring for your cat responsibly. Here’s when to bring in a professional:
If your cat shows genuine aggression, hissing, growling, or hard biting when you handle their paws, stop. Forcing the issue creates trauma that makes future trims harder. A groomer or vet tech can do the trim quickly with proper restraint, and you avoid getting hurt.
If you have a senior cat whose claws are thick, brittle, or grown into the pad, don’t try to dig them out yourself. These often need sedation and veterinary care.
If your cat has black claws and you genuinely can’t see the quick on any of them, a professional can do it safely. The cost of a nail trim at a groomer or vet typically runs $15 to $30 per session, often bundled into a wellness visit.
And if home trimming has become a weekly battle you both dread, consider Soft Paws or similar vinyl nail caps. These slide over each trimmed claw and stay on for 4 to 6 weeks. They won’t stop scratching behavior, but they prevent damage to furniture and skin while you work on training. They’re especially helpful for multi-cat households with tension.
Frequently Asked Questions
How to trim an unwilling cat’s nails?
Start with short paw-handling sessions paired with treats for one to two weeks before attempting a trim. Use the kitty burrito towel wrap to gently contain the cat, expose one paw at a time, and trim only one or two nails per session. If your cat shows aggression, stop and schedule a trim with a groomer or vet tech instead.
How to cut nails on a squirmy cat?
Pick a moment when your cat is sleepy after play and a meal. Use a lick mat with squeeze treats to keep your cat occupied, or wrap them loosely in a towel (the kitty burrito method). Press the top of each toe to extend the claw, clip only the white tip about 2mm past the pink quick, and reward after each nail.
How to trim a wiggly kitten’s nails?
Kittens are easiest to condition because they’re still learning what’s normal. Handle their paws daily from the first week home, always paired with treats. Use small scissor-style clippers, trim only the sharp curved tip, and keep sessions under 2 minutes. Kittens wiggle more than adult cats, so expect to do just a few nails per session at first.
What to do if your cat won’t let you cut their nails?
If consistent training and the kitty burrito method don’t work, book a nail trim with a professional groomer or vet tech, which typically costs $15 to $30. You can also try vinyl nail caps like Soft Paws, which a professional applies and which last 4 to 6 weeks. Never force a deeply distressed cat, as it creates lasting fear.
Final Thoughts on Safe Cat Nail Trimming
Learning how to trim a squirming cat’s nails safely comes down to three things: the right moment, the right restraint, and the right reward. Get those in place and even a determined squirmer becomes manageable.
Start with the calming routine, work through the step-by-step trim process, and lean on the kitty burrito when you need it. If your cat needs time, follow the three-week training plan. Patience today saves you scratches and stress for years to come.
Your cat doesn’t hate you. They just need to learn that clippers mean treats, not terror. Keep sessions short, keep them positive, and before long nail day will feel routine for both of you.