
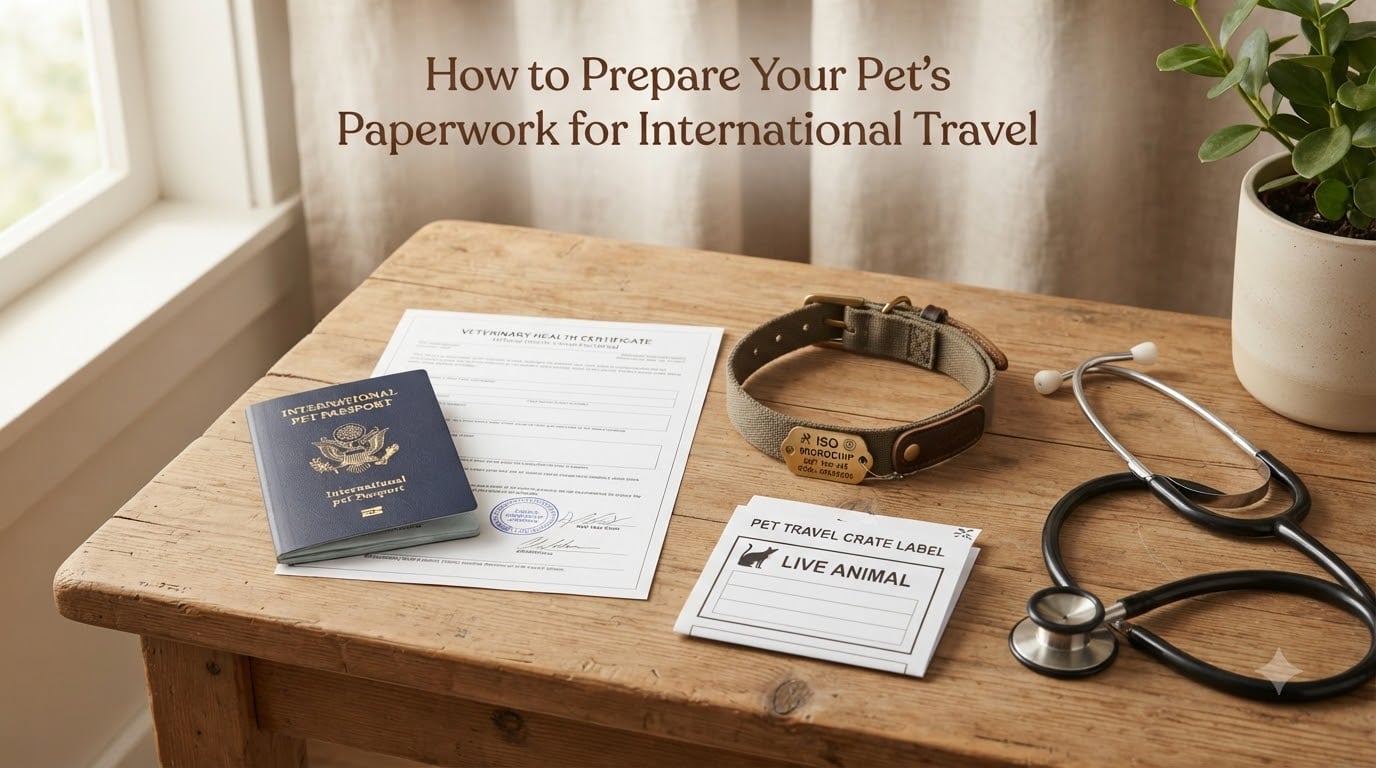
I learned the hard way that international pet travel paperwork follows a strict timeline, not a wish list. Six months before I moved from Texas to Germany with my beagle, I called the airline expecting to book and go. The agent asked for a USDA-endorsed health certificate, an EU Pet Animal Health Certificate, an ISO microchip number, and a rabies titer test result. None of those existed yet.
That phone call kicked off a six-month scramble. If you are learning how to prepare your pet’s paperwork for international travel before you book a flight, you are already ahead of where I started. This guide walks you through every step I wish I had known, in the order you actually need to do them.
You will get a clear timeline, a checklist of every document, the mistakes that cost me time and money, and direct answers to the questions real travelers ask on forums. By the end, you will know exactly what to do, when to do it, and which professional to call first.
Table of Contents
Why Preparing Your Pet’s Paperwork Matters Before International Travel?
Skipping or rushing pet travel paperwork does not just delay your trip. It can end it. Airlines, customs agents, and destination countries can refuse entry to a pet that arrives without the right documents, and you will be responsible for the return trip. I have read forum posts from owners who had to fly their dog back home in cargo at their own expense because a single certificate was missing.
Here is what is at stake when your pet’s paperwork is incomplete or expired:
Denied boarding at the airport, even with a paid ticket.
Mandatory quarantine at the destination, sometimes for up to six months.
Refusal of entry, with the pet held at the airport until you arrange shipping back.
Fees for re-issuance of USDA-endorsed certificates, which can run $150 to $400 each.
A forced delay of your own travel plans while you wait for new labs and certificates.
Every country sets its own rules, and the United States sets its own on the return trip. The good news is that the process is predictable once you understand it. The bad news is that no single airline, vet, or website will walk you through it end to end. That is why this guide exists.
Step 1: Contact a USDA-Accredited Veterinarian Early
The single most important step in preparing pet paperwork for international travel is finding a USDA-accredited veterinarian. Not every vet can sign the export health certificate you need. Only a federally accredited vet can certify your pet for international travel and submit the paperwork to USDA-APHIS for endorsement.
Why a USDA-accredited vet is required
Your regular vet may be excellent at wellness care, but they likely cannot sign an international Certificate of Veterinary Inspection (CVI). The USDA maintains a national directory of accredited vets at the APHIS website. Search by your zip code, and call at least two or three offices. Demand is high, and the right clinic may have a multi-week wait for international travel appointments.
What to bring to the first consultation
When you book the appointment, ask the clinic what they need to see. Most offices want:
Your pet’s full vaccination history, including the rabies certificate dates.
Microchip number and implantation date, if your pet is already chipped.
Your destination country and exact travel date.
Any import permit numbers your destination country has issued.
Bring your pet’s travel timeline even if it is still rough. The vet will use it to schedule the rabies titer test, the CVI exam, and the USDA endorsement window in the correct order.
Step 2: Research Your Destination Country’s Requirements
The United States does not have a single uniform rule for pet entry. Each destination country sets its own requirements, and they change without much notice. Before you book a flight, pull up the official entry rules for your destination.
Best sources for country-specific rules
Use these trusted sources, in this order:
USDA-APHIS Pet Travel website, which lists export requirements by country.
The destination country’s embassy or consulate website in the US.
The destination country’s ministry of agriculture or animal health agency.
Your airline’s specific pet policy, which may add rules on top of the country.
Print or save every page you read. If a customs officer asks a question at the border, you will want a paper trail that matches the documents in your hand.
Watch for special destinations
Some destinations layer extra requirements on top of the standard list. The United Kingdom, Ireland, Singapore, Australia, New Zealand, and Japan require extended quarantine or additional parasite treatments. The European Union requires the EU Pet Animal Health Certificate, which is a specific form that has to be issued by an official veterinarian. Hawaii, while domestic, has its own quarantine program and is often used as a comparison case for international rules.
Step 3: Get the Required Vaccinations and Documentation
Once you know what your destination country requires, work backward through the calendar. Most paperwork depends on three pieces of veterinary evidence: a rabies vaccination, an ISO microchip, and sometimes a rabies titer test.
Microchip first, rabies second
This is the rule that catches almost every first-time traveler. The rabies vaccination must be administered AFTER the microchip is implanted. If your pet was chipped before the rabies vaccine, you are fine. If your pet was vaccinated before being chipped, you will need to re-vaccinate. The microchip must comply with ISO standards 11784 and 11785, or your destination country will reject the records.
Rabies vaccination certificate
Your vet will issue a rabies certificate that includes the vaccine manufacturer, the lot number, the administration date, and the expiration date. Keep the original certificate with your other travel documents. Photocopies are not accepted at the border.
Rabies titer test (FAVN)
Some countries require a rabies titer test, also called a Fluorescent Antibody Virus Neutralization (FAVN) test. The blood sample is drawn by your vet and shipped to an approved lab. Results take 3 to 4 weeks. If the titer is too low, your pet may need to repeat the vaccine and wait another 30 days before testing again. Plan for at least 60 days for the entire titer cycle.
Other vaccines by destination
Some destinations require additional vaccines, such as leptospirosis, distemper, or canine influenza. Tapeworm treatment is mandatory for entry to the UK, Ireland, Finland, and Malta. Check your country’s list carefully and have your vet administer every required vaccine at least 30 days before travel.
Step 4: Obtain a Health Certificate (CVI) Within the Required Window
The Certificate of Veterinary Inspection is the central document of any international pet move. A USDA-accredited vet must examine your pet and certify that it is healthy, free of contagious disease, and properly vaccinated. The CVI is then sent to USDA-APHIS for endorsement.
The 10-day validity window
Most CVIs are valid for 10 days after the date of examination. Some countries extend that to 30 days, but the default is 10. Schedule your vet exam carefully so the certificate is still valid on the day you fly. If your certificate expires before you board, you will need to repeat the exam and re-submit the paperwork to USDA.
USDA endorsement process
After your vet signs the CVI, the document is submitted to USDA-APHIS through the Veterinary Export Health Certification System (VEHCS). USDA reviews the paperwork, attaches an endorsement stamp, and returns it to your vet. The standard turnaround is 3 to 5 business days, but it can take longer during peak travel seasons. Budget for a week of processing time.
EU Pet Animal Health Certificate
If you are traveling to a European Union country, the standard CVI is not enough. You will need the EU Pet Animal Health Certificate, which is a separate form filled out by an official veterinarian. The form must be issued within 10 days of entry to the EU and is valid for 4 months of travel within the EU. The EU certificate is widely considered one of the most paperwork-intensive entry documents in the world.
Step 5: Arrange Airline Transport and Confirm Requirements
Once your pet’s medical documents are in motion, you need to align with the airline. Airlines layer their own rules on top of country rules, and the strictest rule always wins.
Cabin travel
Most airlines allow small dogs and cats in the cabin if the carrier fits under the seat. Weight limits typically range from 15 to 20 pounds including the carrier. The pet must stay in the carrier for the entire flight, and the carrier counts as your carry-on bag. Snub-nosed breeds are often barred from cabin travel on certain airlines due to breathing risks.
Cargo transport
Larger pets travel in the pressurized, climate-controlled cargo hold. The airline will require an approved crate that meets IATA standards, with proper ventilation, food and water bowls, and live animal labels. Book cargo space as early as possible. Many airlines limit how many pets fly on a single flight, and summer and winter embargoes on certain routes can shut off cargo options entirely.
Airline-required health certificate
Airlines typically require a health certificate issued within 10 days of the flight, even if the destination country allows a longer window. Some airlines require an acclimation certificate, which confirms the pet can travel safely in cargo at the expected temperature. Confirm your airline’s exact requirements on the day you book the flight, then re-check them 30 days before departure. Policies change quietly.
Short-nosed breed warnings
Brachycephalic breeds, including pugs, French bulldogs, Boston terriers, and Persian cats, face strict restrictions on most airlines. Many carriers refuse to fly them in cargo because of higher respiratory risk. If you own a short-nosed breed, contact the airline directly before booking. Some travelers use pet transport specialists for these breeds, which adds cost but improves safety.
Step 6: Prepare for Departure Day
The final 48 hours are about execution. By now, every document should be in your hand, the airline ticket should be confirmed, and the travel crate should be ready. Here is the day-of checklist.
Documents to carry on travel day
Original USDA-endorsed health certificate.
Original rabies vaccination certificate.
Microchip implantation record with the 15-digit ISO number.
Rabies titer test results, if your destination requires them.
EU Pet Animal Health Certificate, if traveling to the EU.
Import permit, if your destination country issued one.
Two printed photocopies of every document, kept separately.
Crate labeling requirements
The travel crate must be labeled with your pet’s name, your name, your contact phone number, and the destination address. Live animal stickers must be placed on the top and one side of the crate. Use arrow indicators to mark the upright orientation. Airlines will not accept a crate without these labels.
Food, water, and comfort items
Attach a small food bowl and a water bowl to the inside of the crate. Pack a small bag of your pet’s regular food inside the crate, taped securely. Include a familiar item, like a worn t-shirt or a small blanket, to reduce stress. Do not place loose items inside the crate that could shift and injure your pet during flight.
Identification tags
Your pet should wear a collar with two tags: one with your destination address and phone number, and one with a contact back home. Microchip contact information should be up to date with the registry. If your pet escapes during transit, the tags and the microchip are the fastest way to recover them.
Your 6-Month International Pet Travel Timeline
If you only remember one thing from this guide, remember this timeline. Pulling it together as a single checklist is the easiest way to make sure nothing slips. Use the milestones below to plan your move.
6 months before travel
Start your research. Confirm your destination country’s entry requirements on the USDA-APHIS website. Book a consultation with a USDA-accredited veterinarian. If your pet is not microchipped, schedule the implant now. If your pet is already chipped, verify the ISO compliance and update the registry contact information.
3 months before travel
Administer any required rabies titer test. This is the slow step — lab results take 3 to 4 weeks. If the titer fails, you need time to re-vaccinate and retest. Schedule any other destination-required vaccines during this window so they clear 30 days before travel.
1 month before travel
Book the airline tickets and confirm the cargo or cabin reservation. Schedule the CVI exam with your USDA-accredited vet, timed so the certificate is still valid on your flight date. Apply for any import permit your destination country requires, since some permits take weeks to issue.
1 week before travel
Pick up the USDA-endorsed health certificate from your vet. Confirm the EU Pet Animal Health Certificate if needed. Acclimate your pet to the travel crate with positive reinforcement and short sessions. Pack food, water bowls, and comfort items. Print two copies of every document.
1 day before travel
Re-check the flight time and cargo cut-off. Confirm the pet acceptance window at the airport. Attach identification tags to your pet’s collar and the live animal labels to the crate. Place the original documents in a waterproof folder that goes in your carry-on, not your checked luggage.
Common Mistakes to Avoid When Preparing Pet Paperwork
Most failed international pet moves come from the same handful of mistakes. These are the ones I see on travel forums and heard about from my own vet. Avoid them and your trip will start on the right foot.
Microchipping after the rabies vaccine. The microchip must come first, or the rabies certificate is invalid for international travel.
Assuming the CVI is valid for 30 days. The default is 10 days, and some airlines and countries will not accept even the 10th day.
Skipping the USDA endorsement. A health certificate signed by your vet alone is not valid for international travel. USDA must endorse it.
Not keeping backup copies. Airline cargo agents sometimes lose paperwork. Always carry two printed copies of every document on a separate luggage piece.
Booking the flight before the certificate window opens. If your flight is in 12 days, the CVI must be issued within the last 10. Book the vet exam after the flight is confirmed, not before.
Forgetting parasite treatment. Tapeworm treatment is required for the UK, Ireland, Finland, Malta, and a few other countries. It must be administered by a vet within 5 days of arrival, and the vet must record the product and time on the certificate.
Ignoring temperature embargoes. Many airlines embargo snub-nosed breeds and brachycephalic cats during summer and winter, even on cargo routes.
Not verifying the chip before travel. A non-ISO microchip is the single most common reason a pet is turned away at the border. Have your vet scan the chip at the CVI exam.
Frequently Asked Questions About Pet Paperwork for International Travel
What paperwork is needed to fly a dog internationally?
You need a USDA-endorsed health certificate (Certificate of Veterinary Inspection), an original rabies vaccination certificate, an ISO 11784/11785 microchip record, and a rabies titer test result if your destination requires it. EU destinations also require a separate EU Pet Animal Health Certificate. Some destinations add an import permit on top of these documents.
Do airlines check pet documents?
Yes. Airlines verify the health certificate, rabies certificate, and microchip record at the check-in counter before accepting a pet for cabin or cargo travel. Most airlines require a certificate issued within 10 days of the flight, even if the destination country allows a longer window.
How to prep a dog for an international flight?
Start with crate acclimation several weeks before the flight, using treats and positive reinforcement. Exercise your dog lightly before the flight to reduce stress. Avoid feeding a full meal within 4 hours of departure to prevent nausea. Attach identification tags and carry two printed copies of every document. Confirm the airline’s check-in window for pets and arrive early.
Which countries require quarantine for pets?
The United Kingdom, Ireland, Singapore, Australia, New Zealand, Japan, and several Caribbean and Pacific island nations require quarantine ranging from 7 days to 6 months. Quarantine periods depend on the country’s import rules and the completeness of your pet’s paperwork. Pets with all required documents and a passing titer test may qualify for shorter home quarantine in some programs.
How long does it take to get a USDA-endorsed health certificate?
The vet exam takes 30 to 60 minutes. USDA-APHIS endorsement through the VEHCS system takes 3 to 5 business days, but can stretch to 7 to 10 days during peak travel seasons. Plan for at least 2 weeks between the CVI exam and your flight date to give yourself a buffer for corrections.
What is the difference between a pet passport and a USDA health certificate?
A pet passport is a European Union document that bundles a pet’s identification, vaccination, and health records in a single booklet, used for travel between EU countries. It is not interchangeable with a USDA-endorsed health certificate. Americans traveling INTO the EU must still obtain an EU Pet Animal Health Certificate issued by an official veterinarian, even if their pet already has a US-style passport from another country.
Final Thoughts on Preparing Your Pet’s Paperwork for International Travel
International pet travel is paperwork-heavy, but the steps are predictable. The 6-month timeline in this guide is the single most useful planning tool: research at 6 months out, titer test at 3 months, vet exam and endorsement at 1 month, and final documents in hand 1 week before departure. If you follow that arc, the odds of a smooth trip go up dramatically.
The biggest mistake I see pet owners make is starting too late. The second biggest is assuming their regular vet can handle international certificates. A USDA-accredited vet is the first call, and it should happen at least 6 months before your travel date. From there, every other document lines up in order.
Use the official USDA-APHIS Pet Travel website as your source of truth, work with your veterinarian on the medical side, and re-check your airline’s policy 30 days before departure. Do those three things, and your pet’s paperwork for international travel will be ready long before you board the plane.