
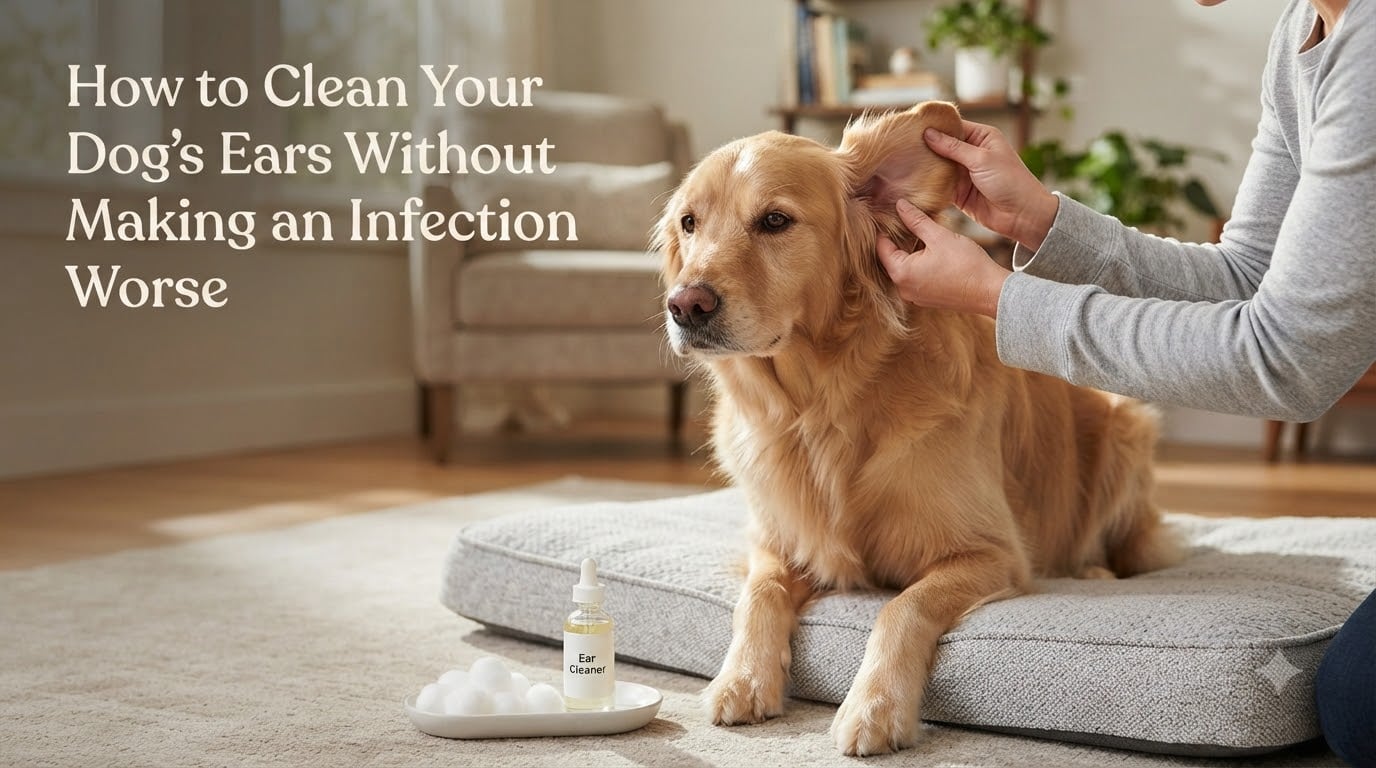
If your dog has been shaking their head, scratching at one ear relentlessly, or you have noticed a funky smell coming from their ear flap, you are probably wondering whether cleaning it yourself will help or make things worse. That worry is completely valid. I have seen too many well-meaning owners accidentally push an infection deeper, irritate already inflamed tissue, or use the wrong solution and turn a mild problem into a painful one. Learning how to clean your dog’s ears without making an infection worse comes down to understanding the anatomy, using the right supplies, and knowing exactly when to stop and call your vet.
In this guide, I will walk you through the entire process step by step. You will learn what the L-shaped ear canal means for safe cleaning, how to tell infection from normal wax, which solutions are safe (and which ones are dangerous), and the specific warning signs that tell you cleaning is doing more harm than good.
Table of Contents
Understanding Your Dog’s Ear Canal Anatomy
Your dog’s ear canal is not straight like yours. It is shaped like an L, with a vertical canal that travels downward from the opening and then bends about 90 degrees into a horizontal canal that leads to the eardrum. This structure is the single most important thing to understand before you attempt any cleaning.
That L-shape means debris, wax, moisture, and infection-causing organisms naturally settle deep in the bend where they are hard to reach. It also means you cannot simply wipe the visible part of the ear and call it done. The infection often lives below the bend, in the horizontal canal.
Here is the good news. Because the eardrum sits at the end of that horizontal canal, it is actually protected from gentle cleaning techniques. A soft cotton ball or gauze square will never reach it. The danger comes from inserting rigid objects like Q-tips, bobby pins, or the tip of a solution bottle deep into the canal, which can puncture the eardrum or push infected material directly against it.
When you massage the base of the ear with cleaning solution inside, the liquid travels down the vertical canal, around the bend, and loosens debris throughout both sections. Your dog’s natural head-shaking reflex then brings that loosened material back up to the opening where you can safely wipe it away. This is why the massage-and-shake method is the gold standard for safe cleaning.
How to Tell If It Is an Infection or Just Dirty Ears
Before you start cleaning, you need to know what you are dealing with. Normal ear wax in dogs is light brown or pale yellow, has minimal odor, and appears in small amounts. If what you are seeing looks different from that, an infection may be brewing.
Yeast infections typically produce a thick, dark brown or reddish-brown discharge that looks like coffee grounds or peanut butter. The ear will often have a strong, sweet, musty odor similar to bread dough or corn chips. The skin inside the ear flap may appear pink or red and feel greasy.
Bacterial infections usually produce a yellow or greenish pus-like discharge with a foul, sour smell. The ear may feel warm to the touch and look swollen or visibly inflamed. Your dog will likely yelp or pull away when you touch the ear base.
Ear mites, which are more common in puppies, create a dark, crumbly discharge that resembles dried coffee grounds. Your dog will scratch intensely and you may notice scabs around the ears from all the scratching.
If you see any of these signs, especially discharge with odor, redness, or pain, your dog likely has an active infection. You can still clean the ear gently, but cleaning alone will not cure the infection. Your dog needs veterinary medication to resolve it.
Supplies You Need for Safe Ear Cleaning
Gather everything before you start so you do not have to stop midway with a squirmy dog. You will need a veterinary-approved ear cleaning solution, cotton balls or gauze squares, and plenty of treats. That is essentially it.
The ear cleaning solution is the most critical item on this list. Look for a product specifically formulated for dogs that contains drying agents. These solutions are pH-balanced for the canine ear canal and help break down wax while drying out excess moisture. Your vet can recommend a specific brand, or you can look for solutions containing ingredients like salicylic acid, boric acid, or acetic acid.
Cotton balls are safer than cotton swabs because they cannot be pushed too deep. Gauze squares work just as well and some owners prefer them because they do not leave fibers behind. Avoid anything with a rigid tip.
Keep a towel handy because your dog will shake their head and solution will fly. Some owners prefer to do this outdoors or in a bathroom where cleanup is easy.
What NOT to Use: Solutions and Tools That Make Infections Worse
This section might be the most important part of this entire guide. Using the wrong product can take a mild ear irritation and turn it into a serious, painful infection that requires weeks of treatment.
Hydrogen peroxide is the number one thing owners reach for, and it is one of the worst choices you can make. It kills healthy cells along with bacteria, slows healing, and breaks down into water, which leaves the ear canal moist and creates a perfect breeding ground for more bacteria and yeast. Never put hydrogen peroxide in your dog’s ears.
Rubbing alcohol is equally dangerous. It stings intensely on inflamed tissue, dries out the skin to the point of cracking, and causes severe pain if the eardrum has any damage. Your dog will associate ear cleaning with agony and fight you even harder next time.
Plain water is another common mistake. Tap water changes the pH of the ear canal, washes away natural protective oils, and gets trapped in the horizontal canal where it feeds bacterial growth. This is why vets specifically warn against getting water in your dog’s ears during baths.
Q-tips and cotton swabs should never go inside the ear canal. They pack wax and debris deeper into the canal, push infected material closer to the eardrum, and can rupture the eardrum with one wrong move. Use them only on the visible folds of the outer ear flap if you use them at all.
Vinegar and water homemade solutions are sometimes recommended online. While diluted apple cider vinegar does have mild antimicrobial properties, it also alters ear pH and stings raw, inflamed skin. Skip the DIY approach when an infection is present and use a solution your vet has approved.
How to Clean Your Dog’s Ears Without Making an Infection Worse: Step by Step
Follow these steps carefully. The goal is to loosen and remove debris without pushing it deeper or irritating already inflamed tissue. Take your time and reward your dog throughout.
Step 1: Position your dog comfortably. Have your dog sit or stand in a position where you can easily reach both ears. For small dogs, a table or counter works well. For larger dogs, sit beside them on the floor. Keep one hand gently on their collar or body so they feel secure.
Step 2: Lift the ear flap and inspect. Before you put anything in the ear, look inside. Note the color of any discharge, check for redness or swelling, and gently smell. This gives you a baseline to compare against after cleaning.
Step 3: Fill the ear canal with cleaning solution. Squeeze enough solution into the ear canal to fill it. Do not let the tip of the bottle touch the ear, as this can transfer bacteria. If the tip does touch the ear, wipe it clean with gauze before using it again.
Step 4: Massage the base of the ear. While still holding the ear flap up, use your thumb and fingers to gently massage the base of the ear where it meets the head. You should hear a squishing sound. This means the solution is traveling through the canal and loosening debris. Massage for about 20 to 30 seconds.
Step 5: Let your dog shake. Stand back and let your dog shake their head. This is the most important step because the shaking motion brings loosened debris and excess solution up from the horizontal canal to the opening where you can reach it. Do not skip this step.
Step 6: Wipe away the debris. Use a cotton ball or gauze square to gently wipe the visible part of the ear canal and the inside of the ear flap. You are only cleaning what you can see. Never push the cotton ball deep into the canal. Repeat with fresh cotton balls until they come out mostly clean.
Step 7: Reward your dog. Give treats and praise immediately. This builds a positive association and makes future cleanings easier.
Step 8: Repeat on the other ear. Use fresh cotton balls for each ear so you do not transfer organisms from one side to the other.
Step 9: Apply medication if prescribed. If your vet has prescribed ear medication, apply it after cleaning. Medication cannot penetrate effectively through a layer of wax and debris, so cleaning first is essential. Wait until the ear is dry, which usually takes a few minutes.
If your dog yelps, growls, or pulls away sharply at any point during this process, stop immediately. Pain during cleaning means the ear is too inflamed for home care and needs veterinary attention.
When to Stop: Signs You Should See a Vet Immediately
Cleaning should never cause pain, bleeding, or visible distress. If any of these occur, stop what you are doing and contact your vet. These are signs that the infection has progressed beyond what home cleaning can manage.
Stop cleaning and call your vet if you see blood on the cotton ball or gauze. Blood means the tissue inside the ear is raw and ulcerated, or you may have accidentally scratched it. Either way, continued cleaning will only make things worse.
Severe swelling of the ear flap is another red flag. If the ear looks puffy or feels like a balloon, your dog may have developed an aural hematoma. This is a blood pocket between the layers of cartilage that often requires surgical drainage. It usually happens from aggressive head shaking.
If your dog cries out when you touch the ear, refuses to let you near it, or seems depressed and lethargic, the infection may be deep or severe. Dogs in pain from ear infections often stop eating, hide, or become unusually aggressive when touched near the head.
A foul-smelling yellow or green discharge that increases after cleaning suggests the infection is worsening despite your efforts. This means the organisms are thriving and medication is needed. Do not keep cleaning hoping it will resolve on its own.
Head tilting, loss of balance, or unusual eye movements are emergency signs. These symptoms indicate the infection has reached the inner ear and is affecting your dog’s vestibular system. This is a medical emergency that requires immediate veterinary care, potentially including hospitalization.
How Often Should You Clean Your Dog’s Ears
Overcleaning is a real problem that many owners do not realize exists. Cleaning too frequently strips the ear canal of its natural protective oils, disrupts the normal pH, and creates a moist environment where bacteria and yeast flourish. This actually causes the infections you are trying to prevent.
For most healthy dogs, cleaning once every two to four weeks is plenty. Some dogs with naturally clean ears may only need it monthly. Dogs that swim regularly, have allergies, or have floppy ears that trap moisture may need weekly cleaning during problem seasons.
If your dog currently has an infection and your vet has prescribed medication, follow their cleaning schedule exactly. Typically this means cleaning before each medication application, which might be once or twice daily for one to two weeks. Once the infection clears, return to a maintenance schedule.
Breeds with floppy ears like Cocker Spaniels, Basset Hounds, Golden Retrievers, and Labrador Retrievers are genetically predisposed to ear problems. Their ear flaps trap moisture and block airflow, creating the warm, dark environment that bacteria and yeast love. These breeds benefit from regular preventative cleaning.
Dogs with allergies are another high-risk group. Food and environmental allergies cause inflammation throughout the body, including the ear canals, which increases wax production and creates ideal conditions for infection. If your dog has allergies, talk to your vet about a proactive ear care routine.
Tips for Dogs Who Fight Ear Cleaning
If your dog runs the other direction when they see the ear solution bottle, you are not alone. This is one of the most common frustrations owners share in forums. The good news is that most dogs can learn to tolerate, and even accept, ear cleaning with the right approach.
Start by desensitizing your dog to having their ears touched. Gently handle their ears during relaxed moments like cuddling on the couch. Reward with treats so they build a positive association. Do this for a week before attempting an actual cleaning.
Try the cotton ball soak method if your dog will not tolerate solution being poured into the ear. Soak a cotton ball thoroughly in cleaning solution, place it just inside the ear opening, and massage the base. Your dog gets the benefit of the solution without the sensation of liquid being squeezed into their canal.
For dogs who nip or bite when stressed, use a muzzle during cleaning. This is not cruel. It keeps both you and your dog safe and allows you to provide the care they need without injury or escalating fear.
Do the cleaning after exercise when your dog is naturally tired and calm. A long walk or play session beforehand takes the edge off and makes them more likely to hold still.
Frequently Asked Questions
Should you clean your dog’s ears if they have an infection?
Yes, gently cleaning the ear before applying prescribed medication is important because the medication needs to reach the skin to work, and wax or discharge blocks it. However, if the ear is extremely painful or bleeding, stop and see your vet before attempting any cleaning.
How do I clean my dog’s infected ear naturally?
The safest approach is a veterinary-approved ear cleaning solution, not homemade remedies. Diluted apple cider vinegar is sometimes suggested but can sting raw, infected skin and alter ear pH. Always consult your vet before using any natural solution on an active infection.
How do you get brown gunk out of a dog’s ear?
Fill the ear canal with a vet-approved cleaning solution, massage the base for 20 to 30 seconds, let your dog shake their head, then gently wipe away the loosened debris with a cotton ball. The brown gunk is typically a mix of wax, yeast, and debris that the solution loosens and the head shaking brings to the surface.
What kills yeast in dogs’ ears naturally?
Acetic acid, the main component of vinegar, has mild antifungal properties and is found in some veterinary ear cleaning solutions. However, an active yeast infection usually requires prescription antifungal medication from your vet. Natural remedies alone rarely resolve a full infection and can delay proper treatment.
Will hydrogen peroxide clear up a dog’s ear infection?
No. Hydrogen peroxide damages healthy cells, slows healing, and breaks down into water that feeds bacterial and yeast growth. It can make an ear infection significantly worse. Never use hydrogen peroxide in your dog’s ears. Use only veterinary-approved cleaning solutions.
Can you hurt a dog by cleaning their ears wrong?
Yes. Using Q-tips can rupture the eardrum or push debris deeper into the canal. Using hydrogen peroxide or alcohol can damage tissue and worsen infection. Overcleaning strips protective oils and creates conditions for new infections. Cleaning too aggressively on an inflamed ear causes pain and can lead to hematomas from head shaking.
The Bottom Line on Safe Ear Cleaning
Learning how to clean your dog’s ears without making an infection worse comes down to three core principles: use the right veterinary-approved solution, never insert anything deep into the L-shaped canal, and stop immediately if your dog shows signs of pain. The massage-and-shake method is your safest technique because it lets gravity and your dog’s natural reflexes do the deep cleaning for you.
If your dog has an active infection, cleaning is only one part of the solution. Prescription medication from your vet is what actually resolves the infection, and cleaning before applying that medication helps it work effectively. Watch for the warning signs we covered and never hesitate to call your vet when something does not look or smell right.
Your dog depends on you to keep them comfortable and healthy. With the right approach, ear cleaning can become a stress-free routine that catches problems early and keeps those ears happy for years to come.