
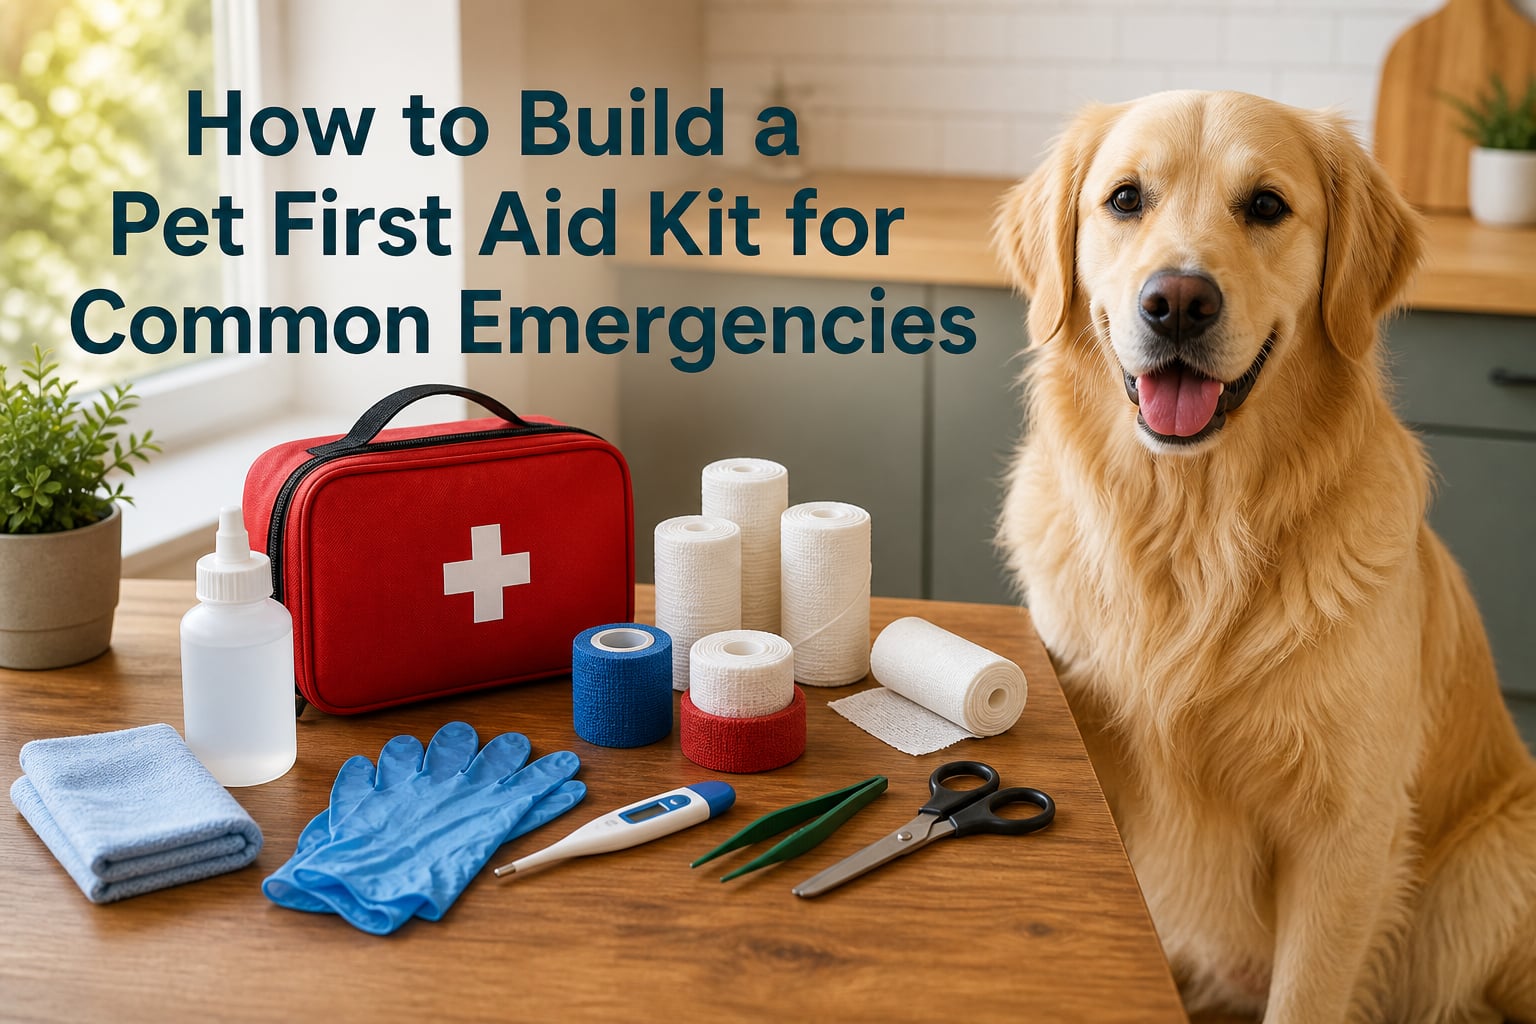
I learned the value of a pet first aid kit the hard way. My 7-year-old labrador mix, Juno, sliced her paw pad open on a hiking trail 40 minutes from the nearest vet. I had a water bottle and a bandana. That 40-minute drive was the longest of my life.
Since then, I have built three different pet first aid kits (one for home, one for the car, and one for trail days). In this guide, I will walk you through exactly how to build a pet first aid kit for common emergencies, what to include, and how to actually use it when seconds count.
Table of Contents
Why Every Pet Owner Needs a Pet First Aid Kit?
Emergencies do not wait for business hours. A pet first aid kit gives you the supplies to stabilize your dog or cat before you reach a veterinarian. According to the American Animal Hospital Association (AAHA), the first few minutes after an injury often determine the outcome.
Owning a pet first aid kit is not about replacing veterinary care. It is about bridging the gap between injury and treatment. Whether your dog steps on glass, your cat swallows a toxic plant, or your pet gets hit by a car, you need supplies within arm’s reach.
I keep one in my kitchen pantry, one in my trunk, and a compact version in my hiking pack. I have used the home kit twice for minor cuts and the trail kit once for a torn nail. Both times, having supplies ready saved me a panic-driven late-night vet run.
Essential Supplies for Your Pet First Aid Kit
Below is the complete checklist I use, organized by category. This covers both dogs and cats. For cat-specific emergencies, the same wound care supplies apply, though you may want extra towels for safe handling.
Bandage and Wound Care Supplies
Gauze pads (2×2 and 4×4 inch sizes)
Gauze roll for wrapping wounds or muzzling an injured animal
Self-adhering vet wrap (sticks to itself, not to fur)
Medical tape (paper tape works best on skin)
Non-stick bandages or telfa pads
Cotton balls and cotton swabs
Cleaning and Antiseptic Supplies
Saline solution for wound flushing and eye irrigation
3% hydrogen peroxide (for inducing vomiting ONLY when directed by a vet)
Antimicrobial or chlorhexidine wipes (pet-safe, no alcohol)
Pet-safe antiseptic solution (diluted betadine works)
Medications and Treatments
Styptic powder or cornstarch for bleeding nails
Antibiotic ointment (pet-safe, no pain relievers like zinc)
Benadryl (diphenhydramine) for allergic reactions, but call your vet for dosage first
Probiotics for stress-related stomach upset
Tools and Instruments
Digital rectal thermometer (pet-specific, fast-read)
Blunt-tipped scissors
Tweezers or hemostats
Needleless oral syringe for giving liquid medications or flushing wounds
Disposable gloves (latex-free if possible)
Magnifying glass for inspecting small wounds or splinters
Flashlight with extra batteries
Emergency Contact Card (Critical)
Your regular veterinarian’s phone number
Nearest 24-hour emergency veterinary hospital
ASPCA Animal Poison Control: 888-426-4435 (fee may apply)
Pet Poison Helpline: 855-764-7661
Your pet’s weight, age, and any medical conditions
Recent vaccination records (copy)
Transport and Stabilization
Pet carrier or crate sized for your animal
Towel or blanket (doubles as a stretcher, muzzle, or wrap)
Quick-slip lead or extra leash
Recovery cone (e-collar) to prevent licking wounds
Cooling pack for heatstroke (wrapped in cloth)
Bonus Items
Treats for positive reinforcement during treatment
Collapsible water bowl and bottled water
Microchip registration documents
Photo of your pet (in case you get separated)
How to Build Your Pet First Aid Kit Step by Step?
Now that you know what to include, here is exactly how to put it together.
Step 1: Choose your container. Use a waterproof, hard-sided box with a secure latch. Clear plastic bins work well because you can see contents at a glance. For travel kits, I use a heavy-duty zippered pouch that fits in my daypack.
Step 2: Organize by category. Use small zip-lock bags to group supplies: bandages, cleaning, medications, tools. Label each bag with a permanent marker. When you are panicking, fumbling through loose items wastes precious seconds.
Step 3: Add the emergency contact card. Tape a laminated card to the inside lid of the box. Include all phone numbers, your pet’s details, and your home address. This helps if a neighbor or pet sitter needs to use the kit.
Step 4: Include a printed first aid guide. In the heat of the moment, you will not remember specific dosages or CPR ratios. Print a one-page reference and tuck it in the kit. The Red Cross offers free downloadable pet first aid guides.
Step 5: Stock for multiple pets. If you have more than one pet, double up on bandages, gloves, and cleaning supplies. A multi-cat home may need extra syringes and towels.
Step 6: Place kits strategically. Store your home kit where adults can grab it in under 30 seconds. Keep a duplicate in your car. For hiking, a trail-specific mini-kit goes in your pack.
DIY Kit vs Pre-Made Kit: Which Should You Choose
Pre-made pet first aid kits run anywhere from basic to fully loaded. They save time and usually come in a sturdy case. The downside: quality varies wildly, and many include low-quality items you will replace anyway.
Building your own kit takes 30 to 60 minutes and lets you choose higher-grade supplies. It also costs less if you already own some basics. I started with a pre-made kit from Kurgo to learn what I needed, then built my custom kits based on what was missing.
If you travel frequently or hike often, a pre-made kit is a smart starting point. If you want full control and the best supplies for your specific pet, build it yourself using the checklist above. Either way, customize it. Add extra gauze, swap the scissors, include your pet’s medications.
How to Use Your Pet First Aid Kit in Common Emergencies?
Supplies alone are not enough. You need to know how to use them. Here are step-by-step procedures for the most common scenarios.
Treating Minor Wounds and Cuts
Step 1: Muzzle your pet if needed, even gentle animals can bite when in pain. Use a gauze strip or bandana as an emergency muzzle.
Step 2: Flush the wound with saline solution to remove dirt and debris.
Step 3: Apply gentle pressure with a clean gauze pad to stop bleeding. Hold for 3 to 5 minutes without lifting.
Step 4: Apply a non-stick pad over the wound, then wrap with gauze roll and secure with vet wrap. Do not wrap too tightly. You should be able to slide a finger underneath.
Step 5: Prevent licking with a recovery cone. Monitor for swelling, redness, or discharge, and see a vet within 24 hours.
Handling Bleeding Nails
A torn or over-trimmed nail bleeds heavily. Apply styptic powder or cornstarch directly to the tip with firm pressure for 30 seconds. If bleeding continues, press a gauze pad against the nail and hold. Most bleeds stop within 5 minutes.
Eye Injuries
Flush the eye with saline solution from the inner corner outward. Do not rub. If your pet is pawing at the eye, squinting, or the eye looks cloudy, place a damp gauze pad over it loosely and head to the vet. Avoid any ointments unless prescribed.
Suspected Poisoning
Do not induce vomiting unless your vet or poison control specifically tells you to. Some toxins, like caustic chemicals, cause more damage coming back up. Call ASPCA Animal Poison Control (888-426-4435) immediately and have the substance, your pet’s weight, and time of exposure ready.
Limping or Suspected Fracture
Keep your pet still. If you suspect a broken bone, do not try to splint it. Confine your pet in a carrier or wrap them gently in a towel to prevent movement during transport. Small pets fit in carriers; large dogs need a flat surface like a board or blanket sling.
Heatstroke
Move your pet to shade immediately. Wet the body with cool (not ice-cold) water, focusing on the belly, paws, and armpits. Offer small amounts of water. Do not submerge your pet in ice water, which can shock the system. Head to the vet even if symptoms improve.
Pet CPR Basics Every Owner Should Know
No competitor in my research covered pet CPR in any depth. Here is what every owner should know. This is a bridge to keep your pet alive until you reach professional help. It does not replace veterinary care.
Check responsiveness. Call your pet’s name and gently tap. Look for breathing and check for a pulse on the inside of the rear thigh (femoral artery).
If there is no pulse or breathing: Lay your pet on their right side on a firm surface. For cats and small dogs, cup your hands around the chest just behind the elbows. For larger dogs, place one hand on top of the other over the widest part of the chest.
Compressions: Press down to one-third to one-half the chest depth. Aim for 100 to 120 compressions per minute. The beat of the song “Stayin’ Alive” matches this rate.
Rescue breaths: Close your pet’s mouth, seal your lips around the nose, and give two breaths. Watch for the chest to rise. Continue cycles of 30 compressions and 2 breaths.
For pets under 10 pounds, use one hand for compressions. For very large dogs, compress more forcefully. Watch this step-by-step pet CPR video for visual reference, and consider taking an in-person pet first aid class through your local Red Cross chapter.
Maintaining Your Pet First Aid Kit
A pet first aid kit is useless if supplies are expired or missing. Set a calendar reminder to check your kit every 6 months.
Inspect expiration dates on peroxide, saline, ointments, and any medications.
Restock any used or missing items immediately.
Replace dried-out bandages or compromised sterile packaging.
Update phone numbers on your contact card.
Refresh your memory by re-reading the printed first aid guide.
I do mine every spring and fall when I rotate seasonal pet supplies. It takes 15 minutes and gives me peace of mind.
Travel and Hiking Considerations for Your Pet Emergency Kit
If you hike or travel with your pet, your kit needs to be smaller, lighter, and more portable. A trail-specific pet emergency kit should weigh under one pound and clip to your pack.
Prioritize these items for hiking:
Compact gauze roll and a few gauze pads
Small vial of saline
Tweezers (for ticks and splinters)
Styptic powder in a tiny container
One dose of Benadryl (call your vet before any trip for dosage)
Emergency contact card laminated for water resistance
Tick remover tool
Reddit users on r/BackpackingDogs emphasize lightweight, waterproof packaging. A heavy-duty zip-lock bag works in a pinch, but I upgraded to a small dry bag after a creek crossing soaked my first kit.
Before any trip, identify the nearest emergency vet along your route. Cell service is unreliable in the backcountry, so download offline maps with vet clinic locations marked. If your pet has a known medical condition, talk to your vet before traveling.
Frequently Asked Questions About Pet First Aid Kits
What to put in a first aid kit for pets?
A complete pet first aid kit should include gauze pads and rolls, vet wrap, saline solution, a digital thermometer, blunt-tipped scissors, tweezers, disposable gloves, styptic powder for bleeding nails, an oral syringe, a pet-safe antiseptic, antibiotic ointment, and an emergency contact card with your vet and ASPCA Animal Poison Control (888-426-4435) numbers. Add a recovery cone and towels for transport.
How do you make a pet first aid kit?
Start with a waterproof, hard-sided container. Organize supplies into labeled zip-lock bags by category: bandages, cleaning, medications, and tools. Add a laminated emergency contact card with your vet, nearest 24-hour emergency clinic, and poison control numbers. Include your pet’s medical info and a printed first aid reference guide. Store one kit at home, one in the car, and a compact version for travel.
Is it cheaper to buy a pet first aid kit or make your own?
Building your own pet first aid kit usually costs less than buying a premium pre-made kit, especially if you already own some basics like scissors or a thermometer. Pre-made kits save time and provide a sturdy case, but quality varies. Many owners start with a pre-made kit and customize it by adding higher-grade supplies and removing low-quality items.
What are the 3 C’s in basic first aid for pets?
The 3 C’s of basic first aid are Check, Call, and Care. First, check the scene for safety and assess your pet’s condition (breathing, pulse, level of consciousness). Second, call your veterinarian or emergency clinic for guidance. Third, provide care using your first aid kit while preparing for transport. Following this sequence prevents you from acting rashly and ensures professional help is on the way.
Final Thoughts on Building Your Pet First Aid Kit
A pet first aid kit is one of the most important investments you can make as a pet owner. Building a pet first aid kit takes less than an hour and costs less than a single emergency vet visit. More importantly, it gives you the tools and confidence to act when your pet needs you most.
Start with the essentials from the checklist above, organize them by category, and practice using them. Take a pet first aid class if one is available in your area. Your pet is counting on you to be prepared.