
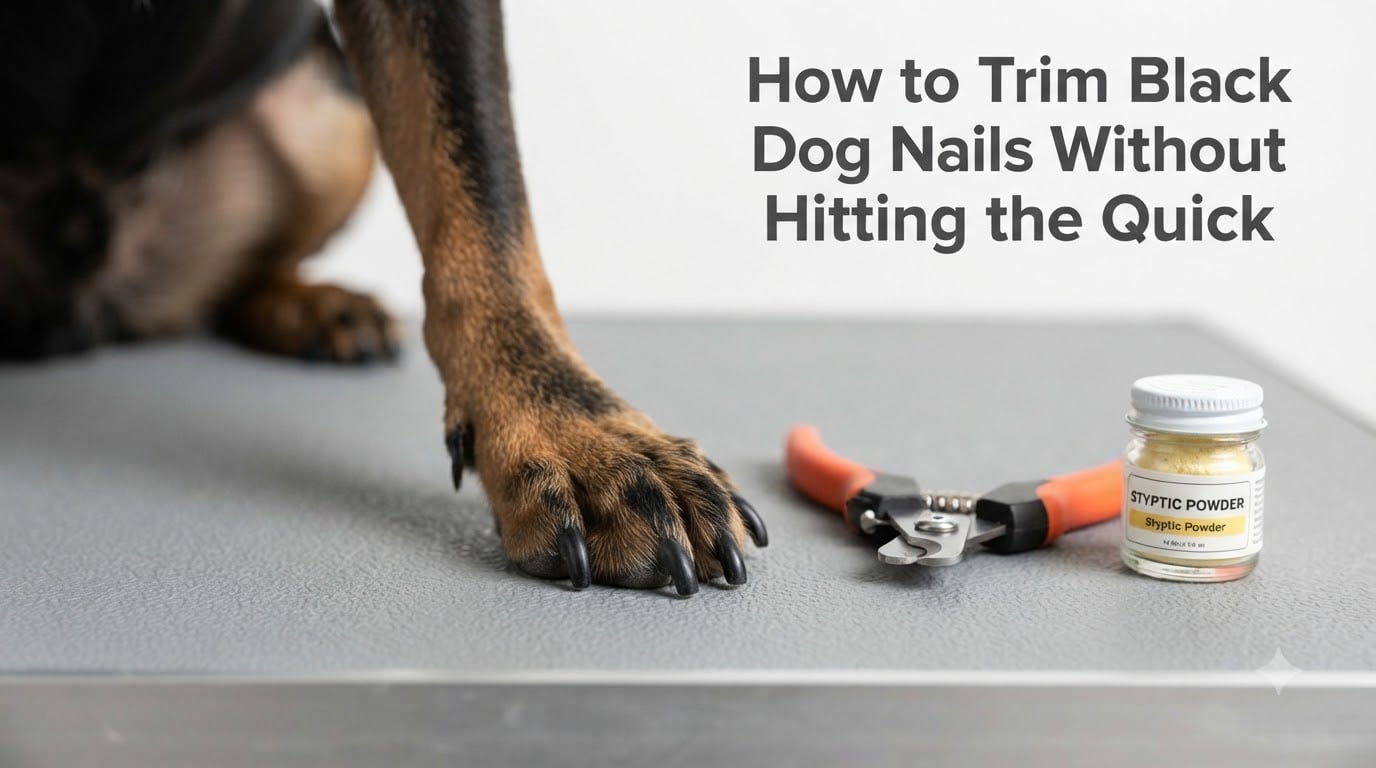
Trimming your dog’s nails is one of those tasks that feels scary at first, especially when you can’t see what’s inside the nail. If your dog has black nails, the quick — that sensitive blood vessel and nerve running through the center of each nail — is completely hidden. One wrong cut and your dog bleeds, panics, and may never trust the clippers again.
The good news is that learning how to trim black dog nails without hitting the quick is a skill anyone can master. I’ve trimmed hundreds of dark nails using a simple visual method that lets you “see” the quick even when it’s invisible from the outside. This guide walks you through every step, from picking the right tool to reading the cross-section signals that tell you exactly when to stop.
Table of Contents
Understanding the Quick and Why Black Nails Are Tricky
The quick is the living tissue inside every dog nail. It contains blood vessels and nerves, which is why cutting it hurts and bleeds. In clear or white nails, you can see the pink quick through the nail wall and simply avoid it. In black nails, the pigment hides everything.
Every dog nail has two main parts. The outer shell is hard, dead horn material — the part that’s safe to cut. Inside that shell sits the quick, which tapers to a point as the nail grows longer. The longer the nail gets, the longer the quick follows. This is why overgrown nails are so hard to shorten in one session.
With black nails, you cannot rely on seeing the quick through the side. Instead, you read what the nail tells you from the inside — by inspecting the cross-section after every tiny cut. This is the core skill that makes black nail trimming safe, and we’ll cover it in detail below.
Tools You’ll Need: Clippers, Grinders, and Emergency Supplies
Having the right tools on hand makes the whole process smoother and safer. You don’t need a lot, but what you use matters.
Scissor-style clippers are my top pick for most dogs. They have two curved blades that meet like scissors, giving you precise control and a clean cut. They work well on medium to large nails.
Guillotine-style clippers have a hole where you insert the nail, then a blade slides across to cut. Some owners like them for small dogs, but the cutting angle can feel awkward and it’s harder to take tiny micro-clips.
Nail grinders (like a Dremel) sand the nail down rather than cutting it. Many owners of black-nailed dogs prefer grinders because there’s no risk of a sudden “snip” into the quick. We’ll compare grinders and clippers in detail later.
Styptic powder is your emergency supply. If you accidentally cut the quick, this powder stops the bleeding fast. Keep it open and within arm’s reach before you start trimming — not buried in a drawer.
If you don’t have styptic powder, cornstarch, flour, or baking soda can work as a backup. Press a small amount firmly against the bleeding nail tip and hold for 30 to 60 seconds.
Preparing Your Dog (Especially Anxious Dogs) for Nail Trims
Preparation matters as much as technique. A calm, cooperative dog makes trimming safe. A panicked, squirmy dog makes mistakes likely.
Start by handling your dog’s paws when you’re not trimming anything. Gently hold each paw, touch each toe, and press lightly on the nails. Pair this with treats so your dog associates paw handling with something good. Do this daily for a week before you ever pick up the clippers.
For anxious dogs, here’s what works best based on what owners report in grooming forums and what I’ve seen firsthand:
Tire your dog out first. A long walk or play session before trimming means a calmer, more compliant dog. A tired dog is far less likely to fight you.
Use a distraction like a lick mat spread with peanut butter and stuck to a wall or floor. Your dog focuses on the treat while you work on one nail at a time. Many owners swear by this technique.
Trim in a quiet, well-lit space. Use a non-slip surface so your dog feels secure standing. Bright light helps you read the nail cross-section clearly.
Work with a partner when possible. One person holds and comforts the dog while the other focuses entirely on the nails. This reduces stress for everyone.
For severely anxious dogs, consider trimming just one or two nails per session. There’s no rule that says all nails must be done at once. Small, positive sessions build trust faster than one stressful marathon.
Step-by-Step: How to Trim Black Dog Nails Without Hitting the Quick
This is the method that works. Take it slow, clip tiny amounts, and inspect after every single cut.
Step 1: Hold the paw firmly but gently. Position the clipper at a 45-degree angle to the nail, cutting from the bottom toward the tip.
Step 2: Take a very small sliver off the tip — think 1 to 2 millimeters. With black nails, you never take a big bite. Tiny micro-clips are the rule.
Step 3: Look at the freshly cut cross-section of the nail face. This is where the magic happens. The face of the cut tells you exactly how close you are to the quick.
Step 4: If the cross-section shows solid whitish or gray material (horn), you’re safe to take another tiny clip. The quick is still further inside.
Step 5: Take another small clip and inspect again. With each cut, watch for changes in the center of the cross-section.
Step 6: Stop the moment you see a small dark dot or circle appear in the center of the cut face. That dot is the beginning of the quick. Do not cut further.
Step 7: Smooth any sharp edges with a nail file or grinder. Sharp edges can snag on carpet or scratch your floors.
Step 8: Move to the next nail. Repeat for all nails, including the dewclaws (the thumb-like nail higher on the paw).
Many experienced groomers suggest viewing the nail from the underside — tipping the paw so you look up at the bottom of the nail as you cut. This angle gives you a better view of the cross-section and helps you spot the dot sooner.
Progressive Cut Visual Guide: 3 Stages to Spot the Quick
The most important skill with black nails is reading the cross-section. Here are the three visual stages you’ll see as you trim deeper.
Stage 1 — The First Cut (Safe Zone): After your first small clip, the nail cross-section looks like a solid disk of light gray or whitish material. There’s no center mark, no ring, no dot. This means the quick is still well inside. You can safely take another small clip.
Imagine a plain white button with nothing in the middle. That’s what you’re looking for at this stage.
Stage 2 — The Second Cut (Caution Zone): After another micro-clip, the cross-section begins to change. You’ll notice a faint ring or lighter circle forming in the center, surrounded by slightly darker material. The texture may look slightly different — a bit softer or grainier in the middle.
This is your warning signal. The quick is close. Take one more very small clip if you’re confident, or stop here if you prefer to be cautious.
Stage 3 — The Stop Point (Quick Reached): On the next clip, you’ll see a distinct dark dot — it can look gray, brown, or black — sitting in the center of a white or pinkish ring. This looks like a bullseye or target sign. This dot is the outer edge of the quick.
STOP immediately. Do not cut any further. This is your stopping point. If you clip past this dot, you will cut into the quick and cause bleeding.
The bullseye method — looking for that telltale dark dot in a light ring — is the single most reliable way to know where to stop on black nails. Practice on clear nails first if your dog has any, so you can connect what the quick looks like with what the cross-section tells you.
Nail Grinder vs Clipper: Which Is Better for Black Nails?
This is a question that comes up constantly, and no top guide has answered it in depth. Let me break down the real differences.
Clippers (scissor or guillotine style) are fast. A single squeeze removes a chunk of nail. The downside is that one mistake — cutting too far — means instant bleeding. With black nails, that risk is higher because you can’t see the quick in advance.
Clippers also leave a sharper edge that needs filing, and some dogs dislike the squeezing pressure on the nail.
Grinders sand the nail gradually. You remove material bit by bit, which means it’s nearly impossible to suddenly hit the quick the way a clipper can. As you get close to the quick, the grinder simply stops removing material effectively — the quick actually feels different to the sanding drum.
Grinders also leave a smooth, rounded edge with no filing needed. Many dogs accept them well once accustomed to the sound and vibration.
The downsides of grinders: they’re slower, they can be noisy, and the friction generates heat that can bother your dog if you hold it in one spot too long. Move the grinder constantly to avoid heat buildup.
My recommendation for black nails: If you’re nervous or new, start with a grinder. The forgiveness factor alone makes it worth the extra time. As you gain confidence reading the cross-section, you can switch to clippers for speed and finish with a grinder for smoothness.
Many owners use a hybrid approach — clip to remove bulk, then grind the last bit to get close to the quick safely. This gives you the best of both worlds.
Gradual Quick Training for Overgrown Black Nails
If your dog’s nails are seriously overgrown, the quick has grown long too — right to the tip of each nail. You cannot shorten these nails to a normal length in one session without cutting the quick.
The solution is gradual quick training. The quick actually recedes over time as you trim the nail back. Here’s how it works.
Trim a tiny amount off each nail every 3 to 4 days using the micro-clip method above. After each trim, the quick retreats slightly. After a week or two of frequent small trims, you’ll be able to take the nails shorter without hitting the quick.
This process takes patience. For severely overgrown nails, expect it to take 4 to 8 weeks of regular trimming to get nails to a healthy length. It feels slow, but it’s the only safe way.
You can speed up the process slightly by filing or grinding the sides of the nail tip after each trim. Thinning the nail around the quick encourages it to recede faster.
Signs your dog’s nails are too long include clicking on hard floors, nails curving sideways, or nails touching the ground when your dog stands. Long nails force your dog to shift weight unnaturally, which can cause joint pain and posture problems over time.
Emergency Care: What to Do If You Hit the Quick
Even with careful technique, accidents happen. Knowing what to do keeps a small mishap from becoming a crisis.
If you cut the quick, stay calm. Your dog will react to your energy. The nail will bleed — sometimes a surprising amount — but this is rarely dangerous.
Dip the bleeding nail into styptic powder or press a pinch of it firmly against the cut surface. Hold steady pressure for 30 to 60 seconds. The bleeding should stop.
If you don’t have styptic powder, use cornstarch, flour, or baking soda the same way. Press firmly and hold.
Avoid washing the nail under water right away — this can wash away the clot and restart bleeding. Let it settle for at least 10 minutes before letting your dog walk around.
Some dogs feel a sharp sting when the quick is cut and may yelp or pull away. Comfort your dog, take a break, and decide whether to continue with other nails or stop for the day. There’s no shame in stopping.
If bleeding doesn’t stop after 10 minutes of firm pressure, or if your dog seems to be in ongoing pain, contact your veterinarian. This is rare but worth knowing.
How Often Should You Trim Black Dog Nails?
Most dogs need a nail trim every 2 to 4 weeks. Active dogs who run on concrete or rough surfaces may naturally wear their nails down and need fewer trims. Sedentary dogs or small breeds kept mostly indoors need trims more frequently.
A simple test: if you can hear your dog’s nails clicking on hard floors, they’re too long. Trim them. The ideal length lets the nails clear the floor when your dog stands naturally.
Dewclaws — those nails higher up on the inside of the paw — always need trimming because they never touch the ground. Left untrimmed, dewclaws can curl around and grow into the pad, which is painful and can cause infection.
Trimming more frequently is always better than trimming less. Frequent small trims keep the quick short, make each session quicker, and reduce the risk of needing to deal with overgrown nails.
Frequently Asked Questions
How to not cut the quick on black dog nails?
Take tiny micro-clips of 1 to 2 millimeters at a time and inspect the cross-section after every cut. When you see a small dark dot appear in the center of a light ring (the bullseye sign), stop immediately — that dot is the quick.
How can you tell where the quick is on black dog nails?
You cannot see the quick through a black nail, but you can find it by reading the cut cross-section. After each small clip, look at the flat face of the cut. Solid light material means you’re safe. A dark dot inside a light ring means the quick is right there.
How to cut dog black nails that are too long?
For overgrown nails, trim a tiny amount every 3 to 4 days. The quick recedes gradually as the nail gets shorter. Over 4 to 8 weeks of frequent small trims, you can safely shorten the nails without cutting the quick.
What happens if I cut my dog’s quick?
The nail will bleed and your dog will feel a sharp sting. Press styptic powder (or cornstarch) firmly against the nail for 30 to 60 seconds to stop the bleeding. Stay calm and comfort your dog. Serious problems are rare.
Is a nail grinder better than clippers for black dog nails?
Grinders are more forgiving because they remove material gradually, making it nearly impossible to suddenly hit the quick. Clippers are faster but riskier. Many owners use clippers for bulk removal and a grinder for the final smoothing near the quick.
How do I trim nails on a dog that hates it?
Start by handling your dog’s paws daily with treats, tire your dog out before trimming, use a lick mat with peanut butter as distraction, and trim just one or two nails per session. Build trust slowly rather than forcing a full trim.
Conclusion: Confidence Comes With Practice
Learning how to trim black dog nails without hitting the quick is a skill built on one principle: take tiny cuts and read what the nail tells you. The bullseye method — watching for that dark dot inside a light ring on the cross-section — is your most reliable signal for when to stop.
Keep styptic powder nearby, work slowly, and don’t rush. If your dog has overgrown nails, commit to the gradual quick training approach over several weeks. If your dog is anxious, prioritize trust-building over speed.
Every dog owner I’ve talked to who once feared trimming black nails now does it routinely without a second thought. The fear fades with practice. Start with one nail, celebrate the small win, and build from there. Your dog’s comfort and joint health are worth the effort.