
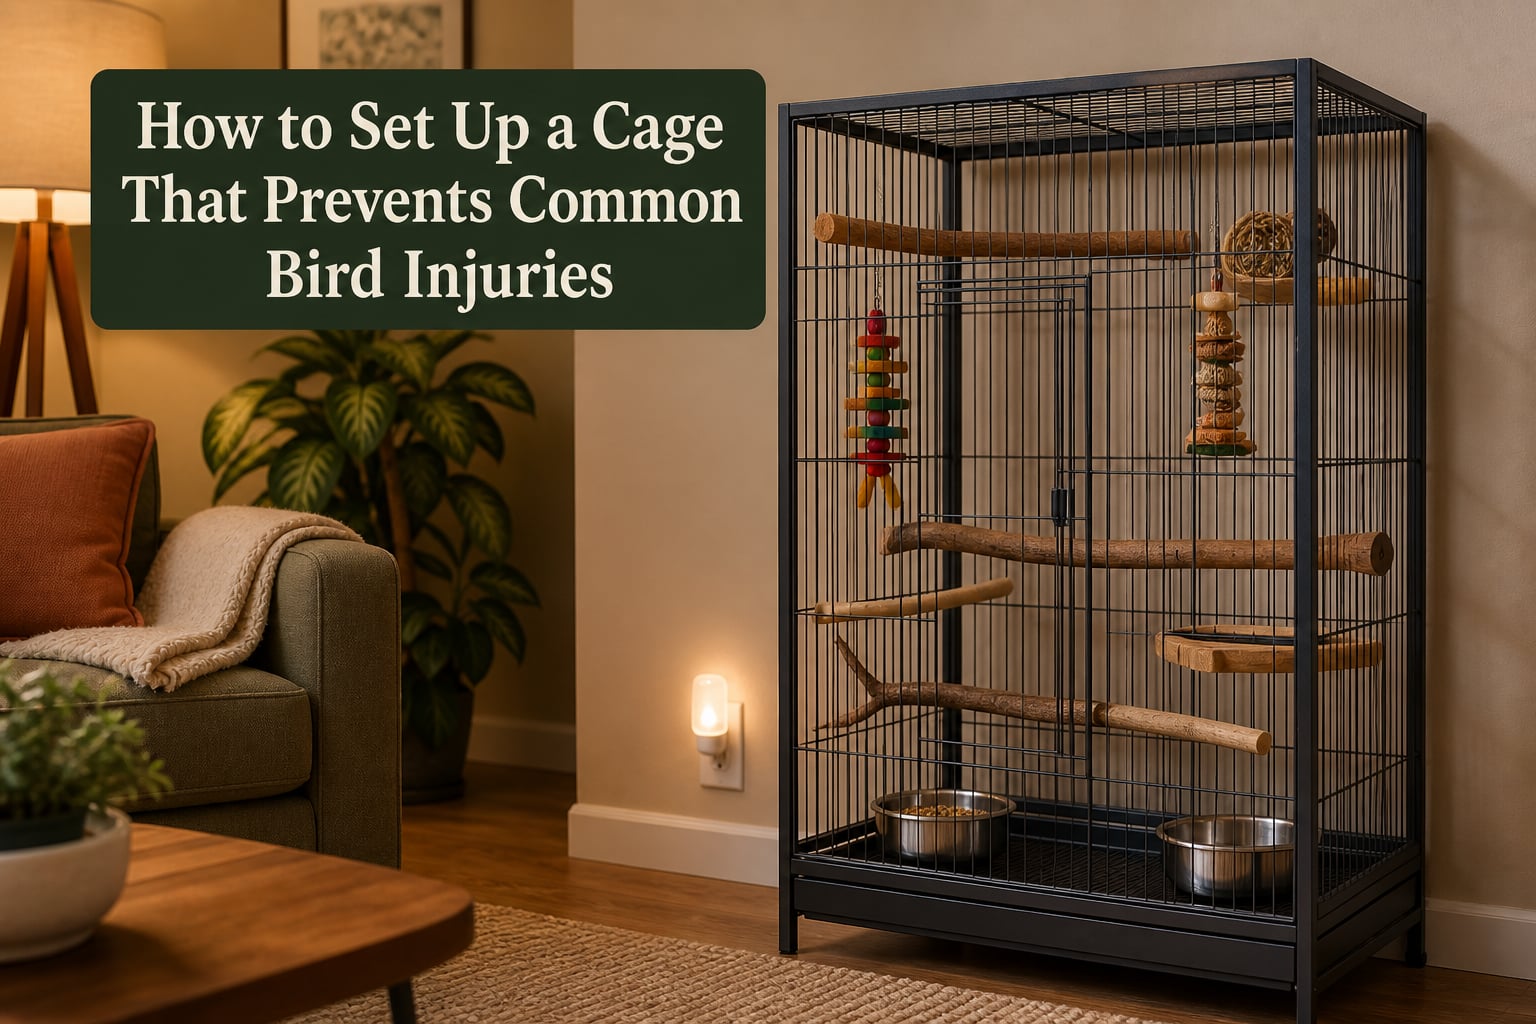
I learned the hard way that a cage is more than a home for a bird; it is a daily environment where injuries can happen in seconds. After years of fostering parrots, finches, and cockatiels, our team has seen wing fractures from night frights, trapped heads between bars, and feet worn raw by the wrong perch.
This guide shows you how to set up a cage that prevents common bird injuries. You will learn the bar spacing rules for each species, the perch mistakes that cause bumblefoot, and the toy hooks that have injured countless parrots on bird forums. I will also walk you through the 3-3-3 rule for birds and share a hospital cage checklist used by avian vets.
Table of Contents
The Most Common Bird Injuries Caused by Poor Cage Setup
Before fixing the setup, it helps to know what you are preventing. In our experience, the same five injuries show up over and over in rescue birds and new pets.
Wing fractures top the list. Most happen when a bird panics at night and slams into a perch, toy, or cage wall. A swing placed in the middle of the cage is a frequent culprit.
Foot injuries rank second. Smooth dowel perches of identical diameter cause pressure sores called bumblefoot (pododermatitis). The infection can become severe enough to require surgery.
Head entrapment is the scariest. If bar spacing is too wide, a small bird can wedge its head through the bars and strangle before you notice. This is a true emergency.
Toxic metal poisoning happens quietly. Cheap cages with zinc-coated wire or lead-based solder leach metal when the bird chews the bars. Symptoms include lethargy, weight loss, and seizures.
Teflon fume poisoning can kill a bird in minutes. Placing the cage in or near the kitchen exposes the bird to fumes from non-stick pans, self-cleaning ovens, and even some space heaters.
What Is the 3 3 3 Rule for Birds
The 3-3-3 rule helps new bird owners set realistic expectations. It also explains why a stressful cage setup can derail the bonding process and lead to panic-related injuries.
3 days to decompress. Your bird is terrified. Hands off, keep noise low, and let the cage feel like a safe cave.
3 weeks to settle in. The bird learns the routine, where the food is, and that you are not a predator.
3 months to build trust. Real bonding happens here, with consistent gentle handling and positive reinforcement.
During those first three days, an overcrowded or improperly placed cage amplifies stress. This is when night frights and panic flutters are most likely, and the wrong setup can cause a wing fracture before trust even begins.
How to Choose the Right Cage Size and Bar Spacing?
Cage size is the first line of injury prevention. A bird that cannot fully spread its wings will develop muscle atrophy and emotional stress, both of which lead to clumsy falls.
For a budgie or cockatiel, the minimum is 18 inches long by 18 inches wide by 24 inches tall. For an African grey or amazon parrot, double those numbers. For a macaw, you want a cage at least 36 inches wide and 48 inches tall.
Bar spacing is just as critical. The rule is simple: a bird should never be able to fit its head between the bars. Here is a quick reference our team uses when evaluating cages:
Finches and budgies: 3/8 inch to 1/2 inch spacing
Cockatiels and conures: 1/2 inch to 5/8 inch spacing
African greys, amazons, and similar: 3/4 inch to 1 inch spacing
Macaws and cockatoos: 1 inch to 1.5 inch spacing
Cage shape also matters. Round cages give no bird a safe corner and can disorient birds. Always choose a rectangular cage with solid backing on at least two sides. The solid walls block drafts and give the bird a place to retreat when frightened.
Finish matters for toxin prevention. Stainless steel is the safest option. Powder-coated steel is acceptable when the brand certifies it as lead-free and zinc-free. Avoid brass, chrome, and any cage that smells metallic or has visible solder joints the bird can chew.
Safe Perch Placement and Selection
Perches are the single biggest cause of foot injuries in pet birds. The mistake I see most often is a cage full of identical plastic dowels. Birds need varied diameters and textures to keep their feet healthy.
Choose natural wood perches made from manzanita, java, or eucalyptus. These materials provide uneven gripping surfaces that exercise the foot muscles and prevent pressure sores. Rope perches are excellent for resting sore feet, but check them weekly for loose threads that can wrap around toes.
Avoid sandpaper perch covers. They abrade the foot pads and cause the very bumblefoot they are marketed to prevent. Concrete perches have a place as a grooming tool, but they should never be the main perch because prolonged standing on them causes friction injuries.
Placement is just as important as material. Our team recommends three rules:
Place perches so a fully extended wing cannot hit the cage wall or another perch.
Keep perches at least 6 inches away from food and water dishes to prevent contamination with droppings.
Position the highest perch near a corner, not the center, so a startled bird has a safe retreat instead of a long fall.
That last rule is critical. A bird panicked by a shadow or a sudden noise will fly straight up. If the top perch is in the middle and the cage is too narrow, the bird hits its wings on the bars and risks fractures.
How to Set Up a Hospital Cage for Injured Birds?
Every bird owner needs a hospital cage plan. Whether your bird has a minor limp or is recovering from surgery, the same principles apply: keep it simple, keep it clean, keep it warm, and keep it stress-free.
Keep it simple. A hospital cage should contain only what the bird needs. One low perch wrapped in vet wrap for grip, food and water dishes on the floor, and a soft towel or padded liner. Remove all swings, ladders, and toys the bird could crash into.
Keep it clean. Use paper towels or white towels as the cage liner so you can monitor droppings for blood or changes in color. F10 disinfectant or a diluted chlorhexidine solution works well for daily cleaning without toxic fumes.
Keep it warm. Sick and injured birds cannot regulate body temperature well. Maintain an ambient temperature between 80 and 85 degrees Fahrenheit. Use a thermostat-controlled ceramic heat emitter, not a heat lamp with a visible bulb, which can overheat the bird and damage feathers.
Keep it stress-free. Place the hospital cage in a quiet room with low light. Cover three sides with a light cotton cloth to give the bird a sense of security. Limit handling to medical needs only.
A small plastic travel carrier often doubles as the perfect hospital cage. It is enclosed, easy to disinfect, and fits on a table near a power outlet for the ceramic heater.
Preventing Night Frights and Wing Fractures
Night frights are one of the most common causes of wing fractures in pet birds. Cockatiels, budgies, and African greys are especially prone. A sudden noise, a shadow, or a draft triggers a panic flutter in total darkness, and the bird crashes into perches and cage bars.
Our team has treated birds with broken blood feathers, torn skin, and full wing fractures from single night fright events. Prevention is far easier than treatment.
Leave a dim night light on near the cage. A small LED night light or a closet light in an adjoining room gives enough illumination for the bird to orient itself without disrupting sleep.
Remove center-of-cage swings and tall ladders. A panicked bird flying straight up is far more likely to hit these obstacles. Place a single swing at perch level on the side of the cage instead.
Add a cushioned false bottom for clumsy or elderly birds. A few layers of towels under a grate give any bird that panics and falls a soft landing. We have seen this simple addition prevent injuries in birds recovering from night fright episodes.
Use a partial cage cover at night. A full blackout cover can make night frights worse by removing all visual cues. Cover the top and two sides only, leaving one side open to the night light.
Toy Safety and Accessory Hazards
Forum posts from bird owners tell a consistent story: the toy that injured the bird was almost always one that had been hanging in the cage for weeks or months without inspection. Our team has personally seen birds snagged on quick links, caught in frayed rope, and strangled by loose bell clappers.
Check every quick link and screw hook before it goes into the cage. Close the link with pliers so the bird cannot pry it open with its beak. A bird that gets its beak or tongue caught in a partially open quick link can panic and break its neck.
Inspect rope toys weekly. Loose cotton threads can wrap around toes and cut off circulation. Replace any rope toy that shows fraying, and never use toys made from materials that shred easily.
Avoid cheap metal toys with bells that have removable clappers. Birds can pull the clapper out and choke on it. Stainless steel bells with welded clappers are the only safe option.
Skip toys with lead weights or zinc components. Stick with toys made from untreated wood, vegetable-dyed leather, and stainless steel hardware. When in doubt, leave the toy out.
Safe Cage Placement in Your Home
Where you put the cage is as important as what is inside it. The wrong location exposes the bird to drafts, toxic fumes, temperature swings, and emotional stress.
Keep the cage out of the kitchen. Teflon-coated cookware, self-cleaning ovens, and even some space heaters release fumes when heated that can kill a bird within minutes. Birds have a respiratory system far more sensitive than humans, and what smells faintly off to you can be lethal to them.
Place the cage against an interior wall, not an exterior wall. Interior walls are more temperature-stable and less prone to drafts. The wall also acts as a solid backing, giving the bird a sense of security.
Avoid direct sunlight through windows. A sunny spot may seem cozy, but glass magnifies heat and the bird cannot escape into shade. Indirect natural light for 10 to 12 hours a day is ideal for vitamin D production.
Stay away from high-traffic areas with loud TVs, slamming doors, and screaming children. A quiet family room corner where the bird can see activity without being in the middle of it is perfect.
Maintain ambient room temperature between 65 and 80 degrees Fahrenheit. Avoid placing the cage near heating vents, air conditioners, or ceiling fans, all of which cause temperature shock and dry feathers.
Safe Cage Setup Checklist
Use this checklist every time you set up a new cage or evaluate an existing one.
Cage is rectangular with solid backing on at least two sides
Bar spacing matches your bird species
Cage is large enough for full wing extension
Finish is stainless steel or certified lead-free powder coat
Perches are natural wood of varying diameters
No sandpaper or all-concrete perch coverage
Top perch is positioned in a corner, not center
Food and water dishes are at least 6 inches from perches
No swings or ladders in the center of the cage
All quick links are closed with pliers
No rope toys with frayed threads
Cage is placed against an interior wall, away from the kitchen
Night light is left on after dark
Room temperature stays between 65 and 80 degrees Fahrenheit
Print this list and tape it inside your bird-care binder. Review it monthly, especially after cleaning, when toys get rotated, or when seasons change and indoor temperatures shift.
Frequently Asked Questions
What is the 3 3 3 rule for birds?
The 3-3-3 rule describes how long it takes a new bird to adjust. 3 days to decompress, 3 weeks to settle into a routine, and 3 months to build real trust with the owner. A proper cage setup makes each of these phases safer.
How to setup a hospital cage for birds?
Keep the hospital cage simple, clean, warm, and stress-free. Use one low perch wrapped in vet wrap, place food and water on the floor, line the cage with paper towels to monitor droppings, and maintain 80 to 85 degrees Fahrenheit with a thermostat-controlled ceramic heater. Cover three sides with a light cloth and limit handling to medical needs only.
What are common bird cage mistakes?
The most common cage mistakes include wrong bar spacing for the species, identical dowel perches that cause bumblefoot, swings placed in the center of the cage, kitchen placement that exposes the bird to Teflon fumes, cheap zinc-coated cages, and total darkness at night that triggers panic wing fractures.
How to prevent night frights in birds?
Prevent night frights by leaving a dim night light on near the cage, removing center-of-cage swings and ladders, using a partial cage cover that leaves one side open to the light, and adding a cushioned towel layer under the grate for soft landings during panic flutters.
Conclusion
Learning how to set up a cage that prevents common bird injuries takes an afternoon, but the benefits last a lifetime. Match bar spacing to your species, choose natural wood perches of varying diameters, place the cage away from the kitchen, and leave a night light on. These four steps alone prevent the majority of injuries our team sees in rescue birds and clinic patients.
If your bird has already been injured, set up a hospital cage today and call an avian-certified veterinarian. The cage you build now could save your bird’s life tomorrow.