
Table of Contents
Table of Contents
Bringing home new fish is exciting, but the first 24 hours decide whether they thrive or quietly fade away. I have lost fish early on, and I have kept fish alive for years, and the difference almost always comes down to how well I acclimated them. This guide on how to acclimate new fish walks you through every method I use, the mistakes that kill most newcomers, and a simple day-by-day plan for the first week so your fish actually make it past day seven.
Why Acclimation Matters for New Fish Survival?
Acclimation is the slow, controlled process of matching the water your fish arrived in to the water in your tank. The bag water your fish rides home in is almost never identical to your aquarium. Temperature can be off by 5 or more degrees. pH can differ by a full point or more. Ammonia has usually started to build, and oxygen has dropped. When you dump a fish straight from one extreme to another, you trigger what aquarists call osmotic shock, and shock is what kills fish within hours or days.
Our team has tested this over dozens of new arrivals, and the pattern is consistent. Fish that skip acclimation often show stress within the first hour and may be dead by morning. Fish that get a proper 30 to 60 minute transition eat on day one and behave normally by day three. Skipping the adjustment is the single most common reason new fish die in the first week.
Pre-Acclimation Checklist Before You Open the Bag
The bag should stay sealed and untouched while you prep. I usually spend 10 minutes getting everything ready so the actual acclimation runs smoothly. Here is what I check before opening anything.
Test your tank water. Confirm the temperature, pH, and ammonia levels of your display tank. If ammonia is above 0.25 ppm or nitrite is present, fix the tank first and postpone adding new fish.
Test the store or shipping water if you can. Knowing the pH and temperature of the bag water tells you how aggressive the adjustment needs to be. A 0.2 pH difference is easy. A 1.0 pH difference means slow drip acclimation.
Dim the tank lights. Bright light plus a stressed fish is a recipe for panic. Turn the main light off and use only ambient room light during the process.
Gather your equipment. Have a clean bucket, airline tubing, an air stone, a small cup, and a net ready before you cut the bag. Walking back and forth to the kitchen is how spills happen.
Prepare quarantine if you use one. If the new fish are going into a separate quarantine tank, the quarantine water should match the main tank water, not the bag water. Mixing done in the bag transitions them either way.
Warning: Never open the bag underwater. Trapped ammonia in shipping water can rapidly convert to toxic gas when the bag surface area expands. Always open the bag in open air above a bucket.
Floating Bag Method: The 15-Minute Standard
The floating bag method is the standard for freshwater fish from a local store where water parameters are similar. It focuses on temperature equalization and adds a small dose of tank water for chemistry adjustment. I use this method on every local pet store purchase.
Float the sealed bag in your tank. Place the unopened bag in the aquarium so it floats at the surface. If it wants to tip, clip it to the side with a clothespin or hold the top over the rim.
Wait 10 to 15 minutes. This brings the bag water temperature equal to the tank temperature. Resist the urge to peek. The fish should calm down as the temperature stabilizes.
Open the bag and roll the top down. Cut the bag open at the top, then fold the open edge down 3 to 4 inches to create a rim. This floats the bag open like a small cup on the surface.
Add one cup of tank water to the bag. Use a clean cup. Pour slowly so you do not splash. Let the water mix for 5 minutes.
Add another cup of tank water. Wait another 5 minutes. For local store fish with similar parameters, this is usually enough chemistry adjustment.
Net the fish out, do not pour. Lift the fish gently with a soft aquarium net and release them into the tank. Discard the bag water, including the original store water. Ammonia, waste, and possible pathogens stay with the bag.
This entire process takes about 25 minutes. For local freshwater community fish with a pH difference under 0.3 and similar temperatures, this method works well and we have not lost a fish to acclimation shock using it across the past two years.
Bucket Method for Slightly Larger Adjustments
The bucket method is essentially a larger floating bag. I prefer it when I am bringing home multiple fish at once, or when the store water has noticeably different chemistry from my tank. The extra volume makes it easier to add tank water gradually without overflowing.
Pour the bag contents into a clean, fish-only bucket. Never use a bucket that has held soap or chemicals. Even a trace residue can wipe out a whole tank. I keep a dedicated acclimation bucket for this reason.
Add a small air stone or airstone. Battery-powered air stones are affordable at any pet store and keep oxygen high while you work. The transport water is already low on oxygen.
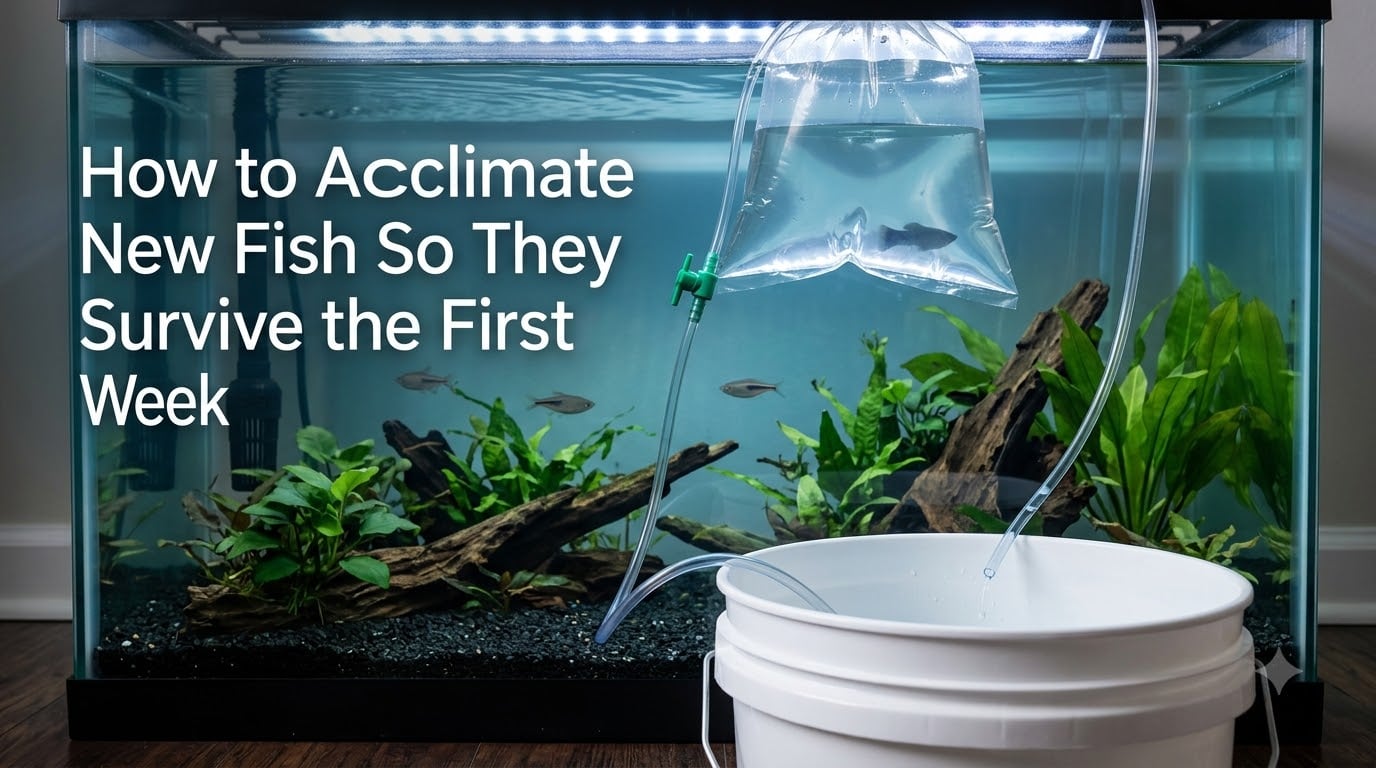
Use airline tubing to drip tank water into the bucket. Start a siphon by filling the tubing with tank water, then tighten the knot or use a control valve so the drip is slow. Target 1 to 2 drips per second.
Wait until the bucket volume doubles. This typically takes 30 to 45 minutes depending on your drip rate. The chemistry inside the bucket is now roughly halfway between bag water and tank water.
Discard half the bucket water and net the fish out. Reduce the volume so you do not dump heavily diluted transport water into your display. Net the fish and release them in the tank.
Clean the bucket immediately. Rinse with hot water and let it air dry. Never leave transport water sitting in the bucket for next time.
If you cannot drip, you can simulate the bucket method by adding half a cup of tank water every 5 minutes for 30 to 45 minutes. It is less precise, but acceptable for hardy freshwater fish.
Drip Acclimation Method for Sensitive Species
The drip method is the gold standard for sensitive species. Use it for online-shipped fish, wild-caught specimens, marine fish, marine invertebrates, and any fish where the pH difference is greater than 0.5. The slow, controlled adjustment prevents osmotic shock and gives the fish time to balance the salt and water inside its cells.
Set up a 5-gallon bucket below the tank. Place it on the floor next to your aquarium stand. Height matters because drip acclimation uses gravity, not a pump.
Pour fish and transport water into the bucket. Tilt the bag carefully so the fish swim into the bucket with as little stress as possible.
Start a siphon from the display tank. Run airline tubing from the tank into the bucket. Use a gang valve, an airline clamp, or a loose knot to control flow.
Set the drip rate to 2 to 4 drops per second. This is the sweet spot. Too fast and you risk ammonia gill burn. Too slow and the bag water cools, adding stress. Adjust until you can count individual drops.
Let the bucket volume triple. Roughly 60 to 90 minutes of dripping. The water in the bucket is now mostly tank water with very little of the original transport water.
Test the parameters if you want to be sure. A quick pH and ammonia test on the bucket water should show the bucket chemistry is now very close to your display tank.
Net the fish and release them. Do not pour bucket water into the display. Net carefully and let the fish adjust in the tank.
I always use the drip method for anything shipped overnight and for any saltwater fish. It is also the safest method when you have no idea what the parameters of the source water were. The setup is simple: a bucket, airline tubing, and a valve. Total cost is under 10 dollars.
Tip: If the bucket fills faster than 2 drops per second, the fish are getting hit with too much new water too fast. Slow it down. Patience here pays off in fish that survive the week.
Acclimation Method Comparison: Which One Should You Use
Choosing the right method is mostly about how different the bag water is from your tank. Here is the decision matrix our team uses.
| Method | Best For | Time Required | Difficulty |
|---|---|---|---|
| Floating Bag | Local freshwater fish, similar parameters | 20 to 30 minutes | Beginner |
| Bucket | Multiple fish, slight chemistry difference | 30 to 45 minutes | Beginner to intermediate |
| Drip | Shipped, marine, wild-caught, sensitive species | 60 to 90 minutes | Intermediate |
| Plop and Drop | Hardy fish from identical source water | 0 minutes | Risky |
I rarely use plop and drop. It only works when you are moving a fish from one of your own tanks to another with identical parameters, and even then there is no real benefit to skipping the slow method.
First 24 Hours: What to Watch After Release
Once the fish is in the tank, the acclimation is technically done, but the first 24 hours are still part of the survival window. Treat the first day like a hospital recovery room for the fish.
Keep the lights low. Leave the tank light off for the first 6 to 8 hours. Bright light on a stressed fish can delay recovery and trigger panic swimming.
Do not feed for the first day. New fish are still digesting and stressed. Food in an unsettled digestive system can rot and pollute the water. Wait at least 12 hours before the first small feeding.
Watch for erratic swimming. A few bursts of fast swimming, glass surfing, or hiding is normal in the first hour. If it continues past 6 hours, the acclimation may have been too fast, or the water parameters are still off.
Check filter flow. Strong filter outflow can blow a tired fish around the tank. If flow looks excessive, redirect the output toward the glass for the first day.
Test the water again at hour 12. A quick ammonia and pH check confirms your cycle is handling the new bioload. Ammonia should still be near zero in a mature tank.
First Week Survival Checklist and Monitoring
The first week is the survival window. After that, fish that have eaten and behaved normally for 5 to 7 days usually thrive long term. Here is the day-by-day checklist I run for every new arrival.
Day 1: Lights off. No feeding. Watch breathing rate and gill movement.
Day 2: First small feeding. Offer a tiny pinch of high-quality food. Remove any uneaten food after 3 minutes to keep ammonia down.
Day 3: Observe interaction with tankmates. Watch for bullying, fin nipping, or one fish hiding constantly.
Day 4: Quick water test for ammonia and nitrite. Should both read zero in a cycled tank.
Day 5: Second feeding. New fish should show interest in food quickly. Disinterest past day 4 is a warning sign.
Day 6: Check water temperature. Stable temperature means your heater is keeping up with the new fish and any extra surface agitation.
Day 7: Look for ich spots, fin damage, or color changes. By day 7, ich visible from stress usually shows up. Early treatment is far easier than late treatment.
Signs of Stress and When to Intervene
Stressed fish do not hide their symptoms, you just need to know what to look for. These are the signals I watch for in the first week, and the response I take for each.
Gasping at the surface. Almost always means oxygen or ammonia trouble. Test water immediately and add an air stone on high.
Clamped fins. Fins held tight against the body, not fanned out, is a sign of general stress. Dim lights and reduce flow.
Color fading. A pale fish is a stressed or sick fish. Combine with appetite loss and you likely have a bigger issue, possibly ammonia or disease.
White spots. Ich appears within 5 to 7 days of stress as small white grains. Treat the whole tank with an ich medication and slowly raise the temperature to 27 degrees Celsius.
Lethargy on the bottom. Sitting on the substrate and not swimming is almost always a water quality issue. Test ammonia, nitrite, and pH right away.
Erratic darting. Sudden bursts of speed, often into the glass or decor, point to sudden parameter change or toxin exposure. Do a 25 percent water change.
Quarantine Tank: Why the First Week Should Be Separate
A quarantine tank is one of the most powerful tools for first week survival. It does not have to be fancy. A 10-gallon tank, a small heater, a sponge filter, and a lid are enough. The point of quarantine is to keep new arrivals away from your established fish for 2 to 4 weeks while you watch for disease.
Most external parasites, ich, and fungal infections show up in the first 7 to 14 days. If your new fish breaks with ich in the quarantine tank, you treat one tank, not your whole display. If you add them straight to the main tank and they brought something in, you are medicating every fish in the house. Quarantine is also where you match water parameters to the display tank, so when you move the fish out, they have already adapted.
I run quarantine on every new fish, even from a trusted local store. The cost is small. The peace of mind and survival rate are massive.
Common Mistakes That Kill Fish in the First Week
Most first week deaths are not mysterious. They come from a handful of repeated mistakes that are easy to avoid once you know what they are.
Dumping bag water into the tank. The single most common error. Bag water carries ammonia, waste, and pathogens. Always net the fish out instead of pouring.
Skipping acclimation to save time. Even 15 minutes of floating is better than zero. The fish will not be any fresher after you cut corners.
Adding fish to an uncycled tank. New fish plus an uncycled tank equals ammonia burn and death. Confirm your tank is fully cycled before buying anything.
Overfeeding on day one. Excited new owners feed too much. Uneaten food becomes ammonia. Tiny pinches are the rule.
Lights on full blast right away. Bright light combined with a new, stressed fish often triggers panic and glass surfing.
Mixing aggressive tankmates too soon. New fish that have not established territory can be bullied badly. Quarantine, then introduce with lights off for rearranging territory.
Ignoring the heater. Heaters can fail or undersize in winter. Cold water plus a new fish is a guaranteed problem.
Special Cases: Wild-Caught, Shipped, and Marine Fish
Some fish need extra care beyond the standard methods. These are the categories that trip up even experienced aquarists if they cut corners.
Wild-caught fish arrive stressed from collection, holding, and shipping. Their immune systems are already taxed. Always drip acclimate, even if your local parameters seem identical. A 60 to 90 minute drip and a 4-week quarantine are the bare minimum.
Shipped fish have spent 24 to 48 hours in a small bag with ammonia building the entire time. The bag water pH usually drops to compensate. When you open the bag, the pH can swing back fast and shock the fish. Open the bag, smell the air (a strong ammonia smell means a rougher shipment), and go straight to the drip method.
Marine fish and invertebrates require salinity matching in addition to pH and temperature. Test the bag water specific gravity with a refractometer. If it is more than 0.005 off from your tank, you need a slow drip acclimation and may need to top up the bucket with small amounts of tank water over several hours to keep flow going.
Frequently Asked Questions
How long do you let new fish acclimate?
Float the bag for 10 to 15 minutes to equalize temperature, then add small amounts of tank water over another 10 to 15 minutes. For sensitive, shipped, or marine fish, drip acclimate for 60 to 90 minutes. The exact time depends on how different the bag water is from your tank.
How long does it take for a fish to adapt to a new tank?
Most fish show normal behavior within 24 to 48 hours after release, and they fully adapt within 5 to 7 days. During that first week, keep lights dim, feed lightly, and monitor for signs of stress such as gasping, clamped fins, or hiding.
What happens if I don’t acclimate fish?
Sudden changes in temperature, pH, or salinity cause osmotic shock. Symptoms include erratic swimming, gasping, color loss, and death within hours or days. Skipping acclimation is the most common reason new fish die in the first week.
How do I acclimate my fish that are in a bag into their tank?
Float the sealed bag in the tank for 15 minutes to equalize temperature. Open the bag, roll the top down, and add a cup of tank water every 5 minutes two or three times. Then net the fish into the tank and discard the bag water. For shipped or sensitive fish, switch to the drip method for 60 to 90 minutes instead.
Final Thoughts on First Week Survival
Knowing how to acclimate new fish is half the battle. The other half is what you do in the seven days that follow. Slow temperature matching, careful chemistry adjustment, and a calm first 24 hours set the stage. A short quarantine, light feedings, and steady monitoring close the gap. Pair these habits with consistent water testing and you will see far more fish make it past the first week and into long, healthy lives in your tank.