
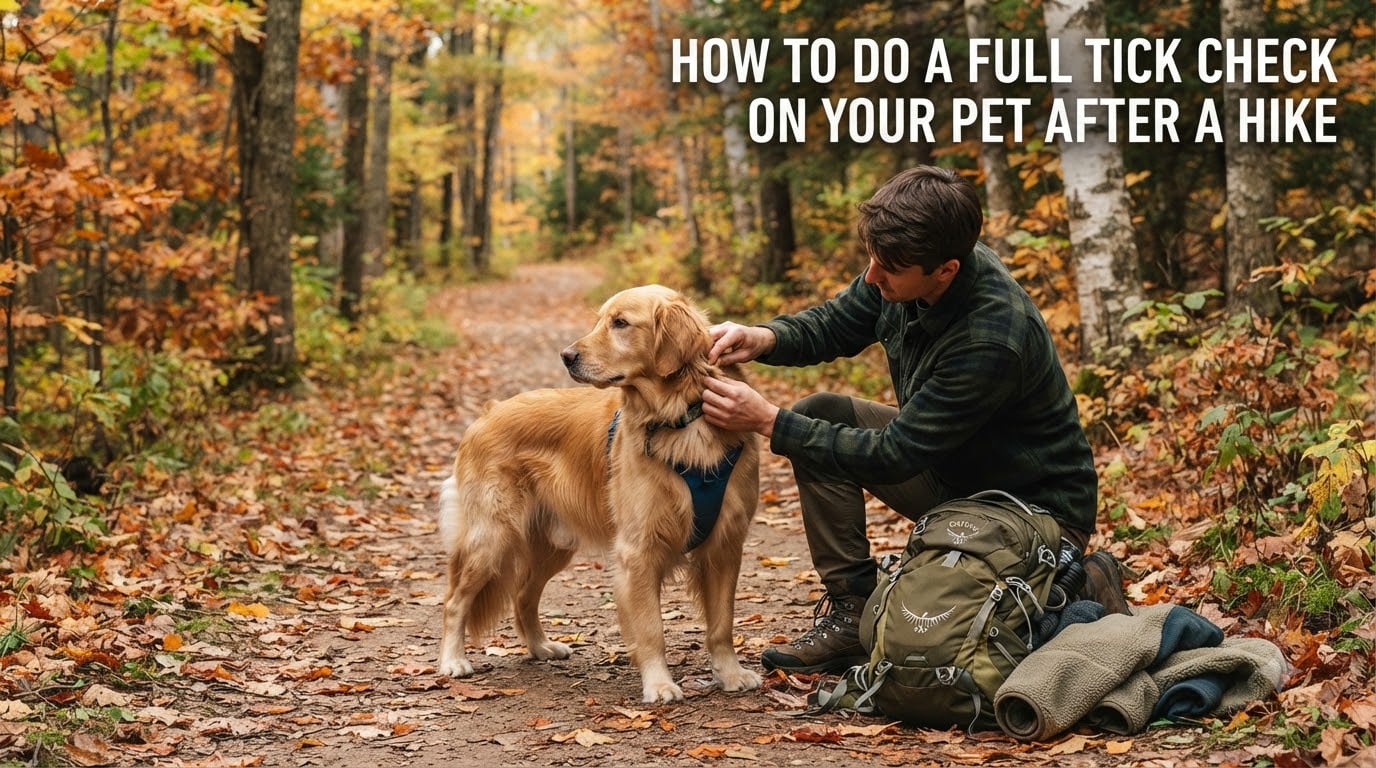
Last summer, I came home from a two-hour trail walk with my dog and found 12 ticks on him. Twelve. One hiker in a Reddit hiking group reported the same thing after just an hour in the woods near Ithaca. That moment changed how I handle post-hike routines forever, and it’s why I want to walk you through how to do a full tick check on your pet after a hike the right way.
Ticks are tiny, patient, and capable of transmitting serious diseases like Lyme disease, ehrlichiosis, and anaplasmosis within 24 to 48 hours of attachment. A thorough check is the single best thing you can do to protect your dog or cat from infection. In this guide, I’ll show you the exact process I use after every outdoor adventure, including tools, technique, and what to do when you find one.
Table of Contents
Why Tick Checks After Hiking Are Essential?
Ticks don’t jump or fly. They crawl up from grass and brush and wait on tall vegetation for a host to pass by. Your pet is the perfect target, especially around the face, ears, and legs. Once a tick finds a warm, dark spot on the body, it burrows in and begins feeding.
The clock starts the moment the tick attaches. According to veterinary research, the risk of Lyme disease transmission rises significantly after 24 hours of feeding, and other infections can transmit even faster. Every hour you delay your check matters. Even dogs on monthly preventatives like Simparica Trio can still have ticks crawling on them, so no method replaces a hands-on inspection.
I learned this the hard way. My own dog was on a preventative and still picked up multiple ticks after a single outing. Pet owners on hiking forums report the same experience, finding dozens of ticks on heavily protected dogs after backcountry trips. Don’t skip the check just because your pet takes medication.
Gather Your Tick Check Tools Before You Start
You don’t need much, but having the right tools turns a frustrating hunt into a quick routine. Here’s what I keep in a small basket by the back door.
Fine-tooth flea comb: Perfect for pulling loose ticks out of medium to long coats before they attach. It also helps you feel for small bumps hidden under fur.
Pointed tweezers or a tick remover tool: Both work, but tick-specific hook tools (like a Tick Tornado) make removal easier and reduce the chance of squeezing the tick’s body. Avoid flat-tipped household tweezers if you have curved-nose options.
Isopropyl alcohol and cotton swabs: For disinfecting the bite area after removal. Some pet owners also drop the removed tick into a small jar of alcohol to preserve it for vet identification if needed.
A headlamp or bright flashlight: Especially helpful for dark-coated pets and for checking between toes. Good lighting is the difference between finding a nymph tick and missing it.
Lint roller: A cheap, brilliant trick for short-haired dogs. A sticky lint roller picks up unattached ticks that are still crawling through the coat, before they get a chance to bite. This was the tip I picked up from a hiking forum and now swear by it.
How to Do a Full Tick Check on Your Pet After a Hike: Step-by-Step
Run your hands over your pet’s entire body, feeling for small bumps under the fur. Part the hair with your fingers to visually inspect anything that feels raised. Work systematically from head to tail, and don’t rush. A focused check takes about 5 to 10 minutes for most dogs and slightly longer for long-haired breeds.
Step 1: Start at the head and neck. Use your fingers to part the fur and check around the ears, under the chin, and along the jawline. Ticks love to crawl up the body, so this is often where they land first.
Step 2: Work down the chest and front legs. Pay close attention to the armpits and the front of the chest. These are warm, hidden spots that ticks gravitate toward.
Step 3: Inspect the belly and groin. Flip your dog onto their back (or roll them gently for cats) and run your hands along the soft skin of the belly. The groin area and the inside of the upper legs are some of the most common tick hideouts on any pet.
Step 4: Check between the back legs and under the tail. The area around the anus and under the tail is warm, moist, and easy for ticks to access. Pet owners on forums consistently call this out as a top hotspot.
Step 5: Move to the back legs and paws. Spread each toe apart and look between the pads. Ticks often lodge here because dogs brush their feet through grass first.
Step 6: Finish with a slow pass along the back and tail. Use the flea comb to drag through the top coat. Anything caught in the teeth is worth a closer look.
Doing this immediately after the hike, before the tick has had time to settle in, is what makes the difference between finding a few crawlies and finding a fully engorged tick three days later.
High-Risk Tick Areas You Must Inspect on Your Pet
Ticks prefer specific conditions on your pet’s body. They look for warmth, moisture, and thin skin where blood is easy to reach. If you only have time to focus on certain areas, prioritize these.
Ears and inside ear flaps: The ear canal and the thin skin inside the ear flap are top hiding spots. Lift each ear and look inside.
Armpits and groin: These thin-skinned folds rarely see direct sunlight and stay warm and damp, ideal tick conditions.
Between toes and paw pads: Dogs walk through grass first, and ticks often latch on here before crawling higher. Spread every toe and check the spaces between pads.
Under the collar: A surprising number of ticks hide under collar bands because the area stays undisturbed. Remove or lift the collar during every check.
Tail base and under the tail: Ticks cluster around the rear, especially the perianal region, where skin is thin and rarely groomed.
Eye area and muzzle: Ticks on the face are common and require careful removal. Check around the eyelids and the fold of the lips.
On cats, the same principles apply, but pay extra attention to the neck and shoulder area where cats can’t easily groom themselves.
Identifying Ticks: What They Look Like at Every Stage?
Ticks look different depending on their life stage and how long they’ve been feeding. Knowing what you’re looking for helps you catch them early.
Adult ticks: Have eight legs and are roughly the size of an apple seed when unfed. Their bodies are flat and oval, and they can be brown, black, or reddish-brown.
Nymph ticks: These are the ones most likely to bite humans and pets because they’re tiny, often smaller than a poppy seed, and harder to spot. Nymphs have eight legs but are only about 1 to 2 millimeters wide.
Engorged ticks: Once a tick has been feeding, its body swells dramatically, sometimes to the size of a grape, and turns a grayish or greenish color. An engorged tick is a sign it has been attached for some time and the risk of disease transmission is higher.
Unattached ticks: These are small, flat, and moving. You may see them crawling through the fur, especially on short-haired dogs. This is where the lint roller trick shines, picking them up before they bite.
Don’t confuse ticks with skin tags, moles, or small scabs. A tick has visible legs (in the adult and nymph stages) and feels like a movable bump under the skin, whereas skin tags are usually flat and firmly attached.
Safe Tick Removal From Your Pet
If you find an attached tick, don’t panic and don’t try folk remedies. No matches, no petroleum jelly, no twisting with bare fingers. These methods often leave mouthparts behind or cause the tick to regurgitate into your pet, increasing infection risk.
Step 1: Grasp the tick close to the skin. Use pointed tweezers or a tick hook tool and grip the tick as close to your pet’s skin as possible, right at the head and mouthparts.
Step 2: Pull upward with steady, even pressure. Don’t jerk or twist. A slow, steady pull straight up is the safest method. The tick should release within a few seconds.
Step 3: Clean the bite area. Wipe the area with isopropyl alcohol or an antiseptic spray designed for pets. Watch for redness or swelling over the next few days.
Step 4: Save the tick if possible. Place it in a small jar of rubbing alcohol or seal it in a plastic bag. If your pet develops symptoms in the next two weeks, your vet can identify the tick species to guide treatment.
Step 5: Wash your hands thoroughly. Ticks can carry diseases that affect humans too, so always wash with soap and water after handling one.
If part of the tick remains embedded, don’t dig for it. Clean the area and let your vet handle the leftover mouthparts. Most will work their way out on their own, and digging can cause infection.
Long-Haired vs Short-Haired Pets: Adjusting Your Technique
Your pet’s coat changes everything about how a tick check works. Long-haired and short-haired pets need different approaches, and using the right method for each saves you time and missed ticks.
For long-haired pets, finger feel matters more than sight. Run your hands slowly through the coat, working in sections, and feel for any small, hard bumps. Part the hair down to the skin at every suspicious spot. A flea comb with longer teeth helps pull loose ticks out before they reach the skin, and many tick species prefer the warm layers closer to the body where the coat is thickest.
For short-haired dogs, visual checks are easier, but unattached ticks are easier to miss. The lint roller trick is particularly useful here. Roll a sticky lint roller over the coat, especially the legs, chest, and belly, and you’ll pick up any ticks that haven’t yet latched on. This was the single best tip I learned from experienced hikers, and it has cut my post-hike finds dramatically.
For double-coated breeds, like Huskies and Golden Retrievers, get your fingers all the way down to the undercoat. Ticks love the dense, warm layer close to the skin, and a surface-level check will miss them entirely.
Post-Hike Routine and When to Call Your Vet
Your check doesn’t end when the tick is removed. A complete post-hike routine protects your pet for the days that follow.
Wash your pet’s bedding and your own hiking clothes in hot water. Ticks can survive a cold or warm wash, but the high heat of a hot dryer cycle kills them. Run everything in the dryer on high for at least 10 minutes after the wash.
Monitor your pet for symptoms over the next two to three weeks. Watch for lethargy, loss of appetite, fever, joint stiffness, or a sudden limp that shifts from leg to leg. These can be early signs of tick-borne illness. Some dogs develop a “bullseye” rash around the bite site, though it’s often hidden under fur.
Call your vet right away if you find an engorged tick, if part of the tick remains in the skin and shows signs of infection, or if your pet develops any of the symptoms above within 30 days of the hike. Mention when the hike happened and which area you visited. This information helps your vet decide on testing or preventive treatment.
Even on preventatives, keep doing the checks. Medication reduces risk, but it doesn’t eliminate it. A 10-minute inspection after every outdoor trip is the most reliable protection you can give your hiking partner.
Frequently Asked Questions
How to check dog for ticks after hike?
Run your hands over your dog’s entire body, feeling for small bumps under the fur. Part the hair to inspect high-risk areas like ears, paws, armpits, groin, and under the tail. Use a flea comb to drag through the coat and a lint roller to pick up unattached ticks.
Does showering after a hike help with ticks?
Yes. A shower within two hours of returning from a hike helps wash off unattached ticks before they can bite. Use a fine-tooth comb on wet fur for short-haired dogs, and check warm areas like the groin, armpits, and behind the ears afterward.
How long until a tick makes a dog sick?
Most tick-borne diseases, including Lyme disease, require 24 to 48 hours of feeding before transmission occurs. The faster you remove an attached tick, the lower the risk of infection. This is why an immediate post-hike check is so important.
How to do a thorough tick check on a dog?
Work systematically from head to tail. Start at the ears and face, then move down the neck, chest, armpits, belly, groin, back legs, paws, and under the tail. Lift the collar, spread each toe, and use a flashlight and flea comb to inspect hidden areas.
How to get ticks off a dog after a hike?
Use pointed tweezers or a tick removal hook to grip the tick as close to the skin as possible. Pull upward with steady, even pressure. Don’t twist or jerk. Clean the bite area with isopropyl alcohol afterward, and save the tick in a sealed bag for vet identification if needed.
What are the odds of a dog getting sick from a tick?
The risk depends on the region, tick species, and how long the tick was attached. In high-risk areas, several percent of dogs exposed to Lyme-infected ticks develop clinical illness. Prompt removal within 24 hours dramatically reduces the chance of disease transmission.
Final Thoughts on Post-Hike Tick Checks
Knowing how to do a full tick check on your pet after a hike is one of the most useful skills you can build as an outdoor pet owner. It takes about 10 minutes, requires only a few basic tools, and it dramatically lowers your dog’s risk of serious illness.
Make the check a habit before anything else, even treats or water. The first thing off your checklist, every single time, before the leashes come off. Your future self (and your hiking partner) will thank you.