
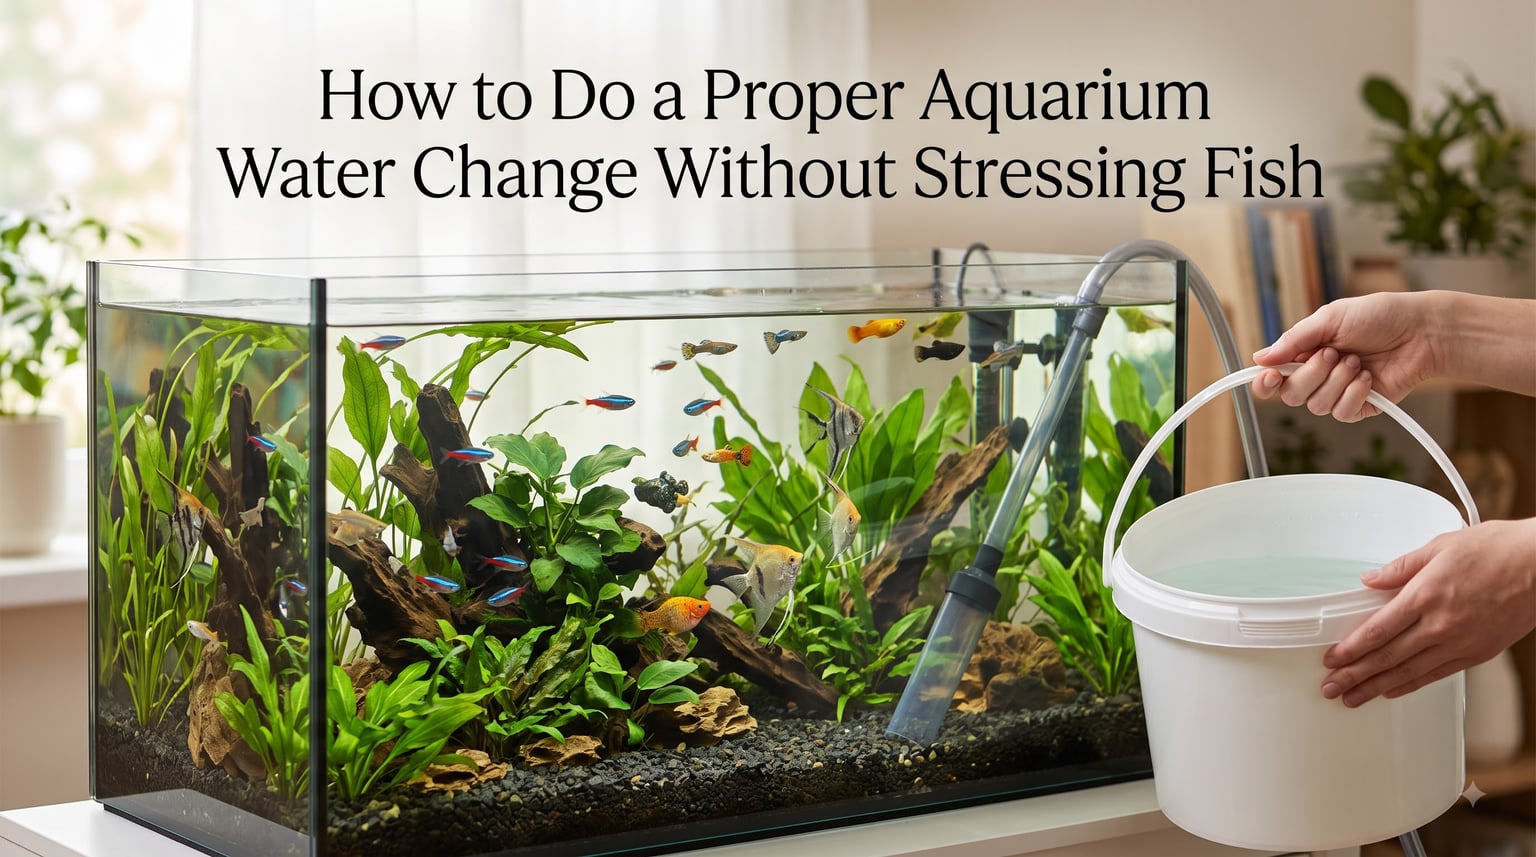
Doing a proper aquarium water change without stressing fish is the single most important skill any fishkeeper can learn. I have kept aquariums for over a decade, and I still remember the early days when I lost fish to changes I made too quickly or with water that did not match.
This guide covers the exact procedure I use today on tanks ranging from 5-gallon betta setups to 125-gallon community tanks. You will learn the step-by-step process, how to match temperature and chemistry, the gravel vacuum technique, and the stress signs that tell you when something went wrong.
Whether you are a beginner preparing your first water change or an experienced hobbyist looking to refine your method, the steps below will help you protect your fish and your nitrogen cycle at the same time.
Table of Contents
Why Aquarium Water Changes Matter for Fish Health?
An aquarium water change is the process of removing a portion of tank water and replacing it with fresh, conditioned water. Even with the best filter, toxins accumulate over time.
Fish produce ammonia through their gills and waste. Beneficial bacteria in your filter convert ammonia into nitrite, then into nitrate. Nitrate is far less toxic, but it still builds up, and high nitrate levels suppress immune function and appetite over weeks.
Regular water changes are the only reliable way to lower nitrate, replenish minerals, and remove dissolved organic compounds that fuel algae growth. Skipping them creates a slow-burn environment where fish survive but never truly thrive.
There is also a psychological impact most guides never mention. Fish recognize routine. A sudden change in light, vibration, or water flow triggers a fight-or-flight response. Loud splashing, fast-moving hoses, and a bucket suddenly appearing at the glass all read as predator activity. Slow, predictable movements tell them the environment is still safe.
Equipment You Need Before Starting
Set up your gear before you touch the tank. Rushing around looking for a bucket is when accidents happen.
A 5-gallon food-safe bucket dedicated only to aquarium use (never used with soap or chemicals)
A siphon or gravel vacuum with a hose long enough to reach the bucket
A submersible thermometer
Water conditioner (dechlorinator) rated for your local water supply
A freshwater test kit (liquid, not paper strips)
An algae pad for glass cleaning during the change
Optional: Python No Spill Clean and Fill system if your tank sits near a sink
I keep all of this in one plastic bin under the tank. When it is time for a water change, everything is ready and I am not running upstairs mid-siphon.
How Much Water to Change and How Often?
The standard recommendation is 10 to 25 percent per week for most freshwater community tanks. The exact number depends on stocking, feeding, and plant mass.
For a lightly stocked tank with live plants, 10 to 15 percent weekly is usually enough. Heavily stocked tanks or tanks without live plants benefit from 20 to 25 percent weekly. Fry grow-out tanks and breeding setups often need smaller, more frequent changes of 10 percent twice a week.
Saltwater and reef tanks follow a different rule. Reef keepers typically change 10 percent weekly or 20 percent every two weeks, and they use water mixed to a specific salinity with matching alkalinity, calcium, and magnesium.
Never change more than 50 percent at once unless you are dealing with a contamination emergency. Large swings in temperature, pH, or hardness shock fish and crash the beneficial bacteria colony that runs your nitrogen cycle.
Water Change Methods Compared
There are four common aquarium water change methods. Each has trade-offs in speed, cost, and how gentle it is on your fish.
| Method | Best For | Pros | Cons |
|---|---|---|---|
| Bucket and Siphon | All tanks, especially beginners | Cheap, no installation, full control | Heavy lifting, slower for large tanks |
| Python No Spill System | Tanks near a sink | No bucket hauling, drains and fills through a faucet hookup | Cost, sink proximity required, potential pressure issues |
| Drip Method | Sensitive species, wild-caught fish, shrimp | Slowest, most gentle, near-zero parameter swing | Time-consuming, requires drip setup |
| Automatic Water Changer | Large tanks, busy hobbyists | Scheduled, hands-off, consistent | Expensive, plumbing required, can fail silently |
For most home aquariums under 55 gallons, the bucket and siphon method wins on price and control. For anything above 75 gallons or for anyone with back issues, the Python system is worth the upgrade. The drip method is reserved for sensitive species like wild discus, cardinal tetras, or dwarf shrimp.
Step-by-Step Aquarium Water Change Procedure
Follow these seven steps in order. I run through this exact sequence every Sunday morning on my own tanks.
Step 1: Test your water parameters.
Check ammonia, nitrite, nitrate, and pH at least once a month. If nitrate is above 40 ppm, increase the volume or frequency of your water changes. If ammonia or nitrite is above zero, your cycle is broken and you need to fix that first.
Step 2: Prepare the replacement water.
Fill a clean bucket with tap water at the same temperature as your tank. Add the correct dose of water conditioner based on the bucket volume, not the tank volume. Stir briefly and let it sit for two to three minutes. Some conditioners work instantly, others need a few minutes to neutralize chloramine.
Step 3: Unplug electrical equipment.
Turn off the heater, filter, and any pumps. Water level changes can expose heater elements above the waterline, and a dry element can crack the glass or burn out. Filters running dry can also overheat.
Step 4: Start the siphon and vacuum the gravel.
Press the siphon into the substrate and let the debris cloud rise. Push the gravel vacuum about an inch into the gravel and gently lift. The debris will flow into the bucket. Work across the tank in sections, vacuuming about one-third of the substrate each change so you do not remove too much beneficial bacteria.
Step 5: Remove 10 to 25 percent of the water.
Measure by watching the bucket. Do not eyeball it. A 20-gallon tank at 25 percent means exactly 5 gallons out. Knowing the volume helps you dose conditioner correctly on refill.
Step 6: Slowly add the new water back.
Pour the replacement water onto a flat surface like a clean plate, your hand, or a small plastic bowl floated in the tank. The goal is to break the flow so it does not blast into the substrate or scare the fish. Even better, use a small cup and drip it in over several minutes.
Step 7: Restart equipment and observe.
Plug the heater and filter back in. Wait 10 to 15 minutes, then watch your fish. Normal behavior returns quickly. If anyone is gasping, hiding, or showing stress signs, test the water again to rule out a parameter mismatch.
Matching Water Temperature Correctly
Temperature shock is one of the top causes of fish death after an aquarium water change. Tropical fish can tolerate a one or two degree swing, but anything above three degrees Fahrenheit causes stress.
Hold your submersible thermometer in the tank, then float it in the bucket of fresh water and adjust the tap until the readings match within one degree. In winter, your tap water may be ten degrees colder than the tank. In summer, it may be warmer. Always check.
Seasonal swings matter more than most hobbyists realize. As the room cools in autumn, your tank temperature drops gradually, but a cold tap refill during a cold month can shock fish with a sudden chill. The opposite happens in summer when hot attic water hits the tank.
A useful trick is to keep a covered bucket of replacement water in the same room as the tank for 12 to 24 hours. This brings the new water to room temperature naturally and evens out any pH drift between tap and tank.
Dechlorination: Making Tap Water Safe
Tap water contains chlorine or chloramine to kill bacteria in the municipal supply. Both are toxic to fish and to the beneficial bacteria in your filter. Chloramine is a combination of chlorine and ammonia, and standard dechlorinators handle both.
Add the conditioner to the bucket of fresh water before it goes into the tank. Dosing the tank directly works in an emergency, but it concentrates the chemicals in a small volume and can briefly burn fish gills.
Common water conditioners like Seachem Prime, API Tap Water Conditioner, and Kordon AmQuel all handle chlorine, chloramine, and heavy metals in one dose. Follow the bottle directions based on the volume you are adding back, not the full tank size.
If you prefer not to use chemicals, you can age water by leaving it in an open bucket for 24 hours. This off-gasses chlorine but not chloramine. Most modern municipal supplies use chloramine, so aging alone is rarely enough.
Gravel Vacuum Technique That Protects the Nitrogen Cycle
Your nitrogen cycle lives on every hard surface in the tank, including the gravel. Roughly 30 percent of your beneficial bacteria colonize the substrate. That is why a complete gravel strip during a water change can crash your cycle.
Vacuum only one-third of the gravel each water change. By the time you rotate back to the first section two to three weeks later, the bacteria have recolonized the cleaned area. This keeps the cycle stable while still removing trapped waste.
In planted tanks, vacuum only the open areas between plants. Roots benefit from the mulm, and disturbing the substrate too much can uproot delicate stems. Lightly hover the siphon just above the gravel surface and let the current pull debris into the hose.
For sand substrates, hover the vacuum just above the sand and let the waste drift up. Do not push the siphon into the sand or you will pull sand into the bucket and clog the hose.
The Drip Method for Sensitive Species
Wild-caught fish, dwarf shrimp, wild discus, and many South American species are sensitive to parameter swings. The drip method is the aquarium water change technique used by serious breeders and importers to acclimate these animals.
Set up a clean bucket below the tank level. Run a length of airline tubing from the tank to the bucket. Tie a loose knot in the tubing or use an airline valve to slow the flow. Adjust until the water drips at one to two drops per second.
This slow trickle lets the fish adjust to any small differences in pH, hardness, or temperature over hours instead of seconds. For routine water changes on sensitive tanks, drip 25 to 50 percent of the volume over four to six hours. It is slow, but the fish never know it happened.
Fish Stress Signs to Watch For During and After a Water Change
Reading your fish after an aquarium water change tells you whether the procedure went well or whether something needs fixing. Here are the signs I watch for.
Gasping at the surface: Usually means oxygen dropped or ammonia spiked. Test immediately.
Hiding for hours: Mild stress, often normal if it resolves within a few hours.
Erratic swimming or darting: Often a pH or temperature shock. Test both parameters.
Color fading: Stress chromatophores contract. Should return to normal within a day.
Clamped fins: Tightly held fins mean the fish is uncomfortable. Check water parameters.
Loss of appetite lasting more than 24 hours: Suggests ongoing stress or poor water quality.
Lying on the bottom: Severe stress. Test everything and consider an airstone for oxygen.
One quick note from forum experience: fish being hyperactive or “flirty” right after a water change is normal. Fresh water and a slight temperature shift can stimulate breeding behavior, especially in livebearers.
Common Mistakes to Avoid
These are the mistakes I see most often in beginner setups, and several come straight from community discussions on Reddit and Stack Exchange.
Using soap on buckets or equipment: Even a trace amount of soap kills fish. Use dedicated equipment only.
Adding untreated tap water directly to the tank: Always condition first in a bucket.
Changing more than 50 percent at once: Destroys the cycle and shocks the fish.
Removing fish during the change: Catching fish in a net is far more stressful than leaving them in the tank with calm water movement.
Vacuuming all of the gravel every change: Strips the bacterial colony and triggers ammonia spikes.
Replacing the filter media at the same time: Never rinse or replace filter media on water change day. Do it separately, weeks apart.
Forgetting to unplug the heater: A dry heater element can crack and electrify the tank.
Frequently Asked Questions
How can I make aquarium water changes less stressful for my fish?
Move slowly, avoid loud splashing, match the new water temperature and pH to the tank, vacuum only one-third of the gravel per change, and drip the replacement water in rather than pouring. Covering the tank sides with a dark towel during the change can also help skittish species stay calm.
Should I remove fish when doing a water change?
No. Leaving fish in the tank is far less stressful than netting them. Most experienced hobbyists only remove fish when cleaning a bare-bottom hospital tank or treating a disease. Routine water changes should be done with the fish in place.
How often should I do a water change in my aquarium?
Most freshwater community tanks do best with a 10 to 25 percent water change once a week. Heavily stocked tanks without live plants need closer to 25 percent weekly. Planted and lightly stocked tanks can stay healthy on 10 to 15 percent weekly or 20 percent every two weeks.
How much water should I change in my fish tank?
Change 10 to 25 percent per week for most setups. Never exceed 50 percent in one session unless you are dealing with a contaminant or medication that requires it. Larger swings stress fish and can crash your nitrogen cycle.
Why are my fish stressed after a water change?
The most common causes are temperature mismatch, untreated chlorine or chloramine, pH swing, or sudden water hardness change. Test the new water and the tank water side by side and match them as closely as possible before adding the new water back.
Final Thoughts on a Stress-Free Aquarium Water Change
A proper aquarium water change is less about speed and more about consistency. Match the temperature, condition the water, vacuum only a portion of the gravel, and add the new water back gently. These four habits cover 90 percent of what keeps fish calm and healthy.
Pick one day each week, gather your gear, and run the same routine. Within a month your fish will recognize the rhythm, and you will notice less hiding and faster recovery after every change. That predictability is the real secret behind a stress-free aquarium water change.